Google-SAML Integration Guide
Operational Scenarios
Google Workspace's SAML-based Single Sign-On (SSO) provides a secure authentication method, allowing users to access multiple services through a single Identity Provider (IdP).
Prerequisites
- A Google Workspace account with administrative privileges.
- Ensure that your domain has been verified within Google Workspace.
Operation Steps
Configure SAML Application
-
Log in to Google Admin Console
-
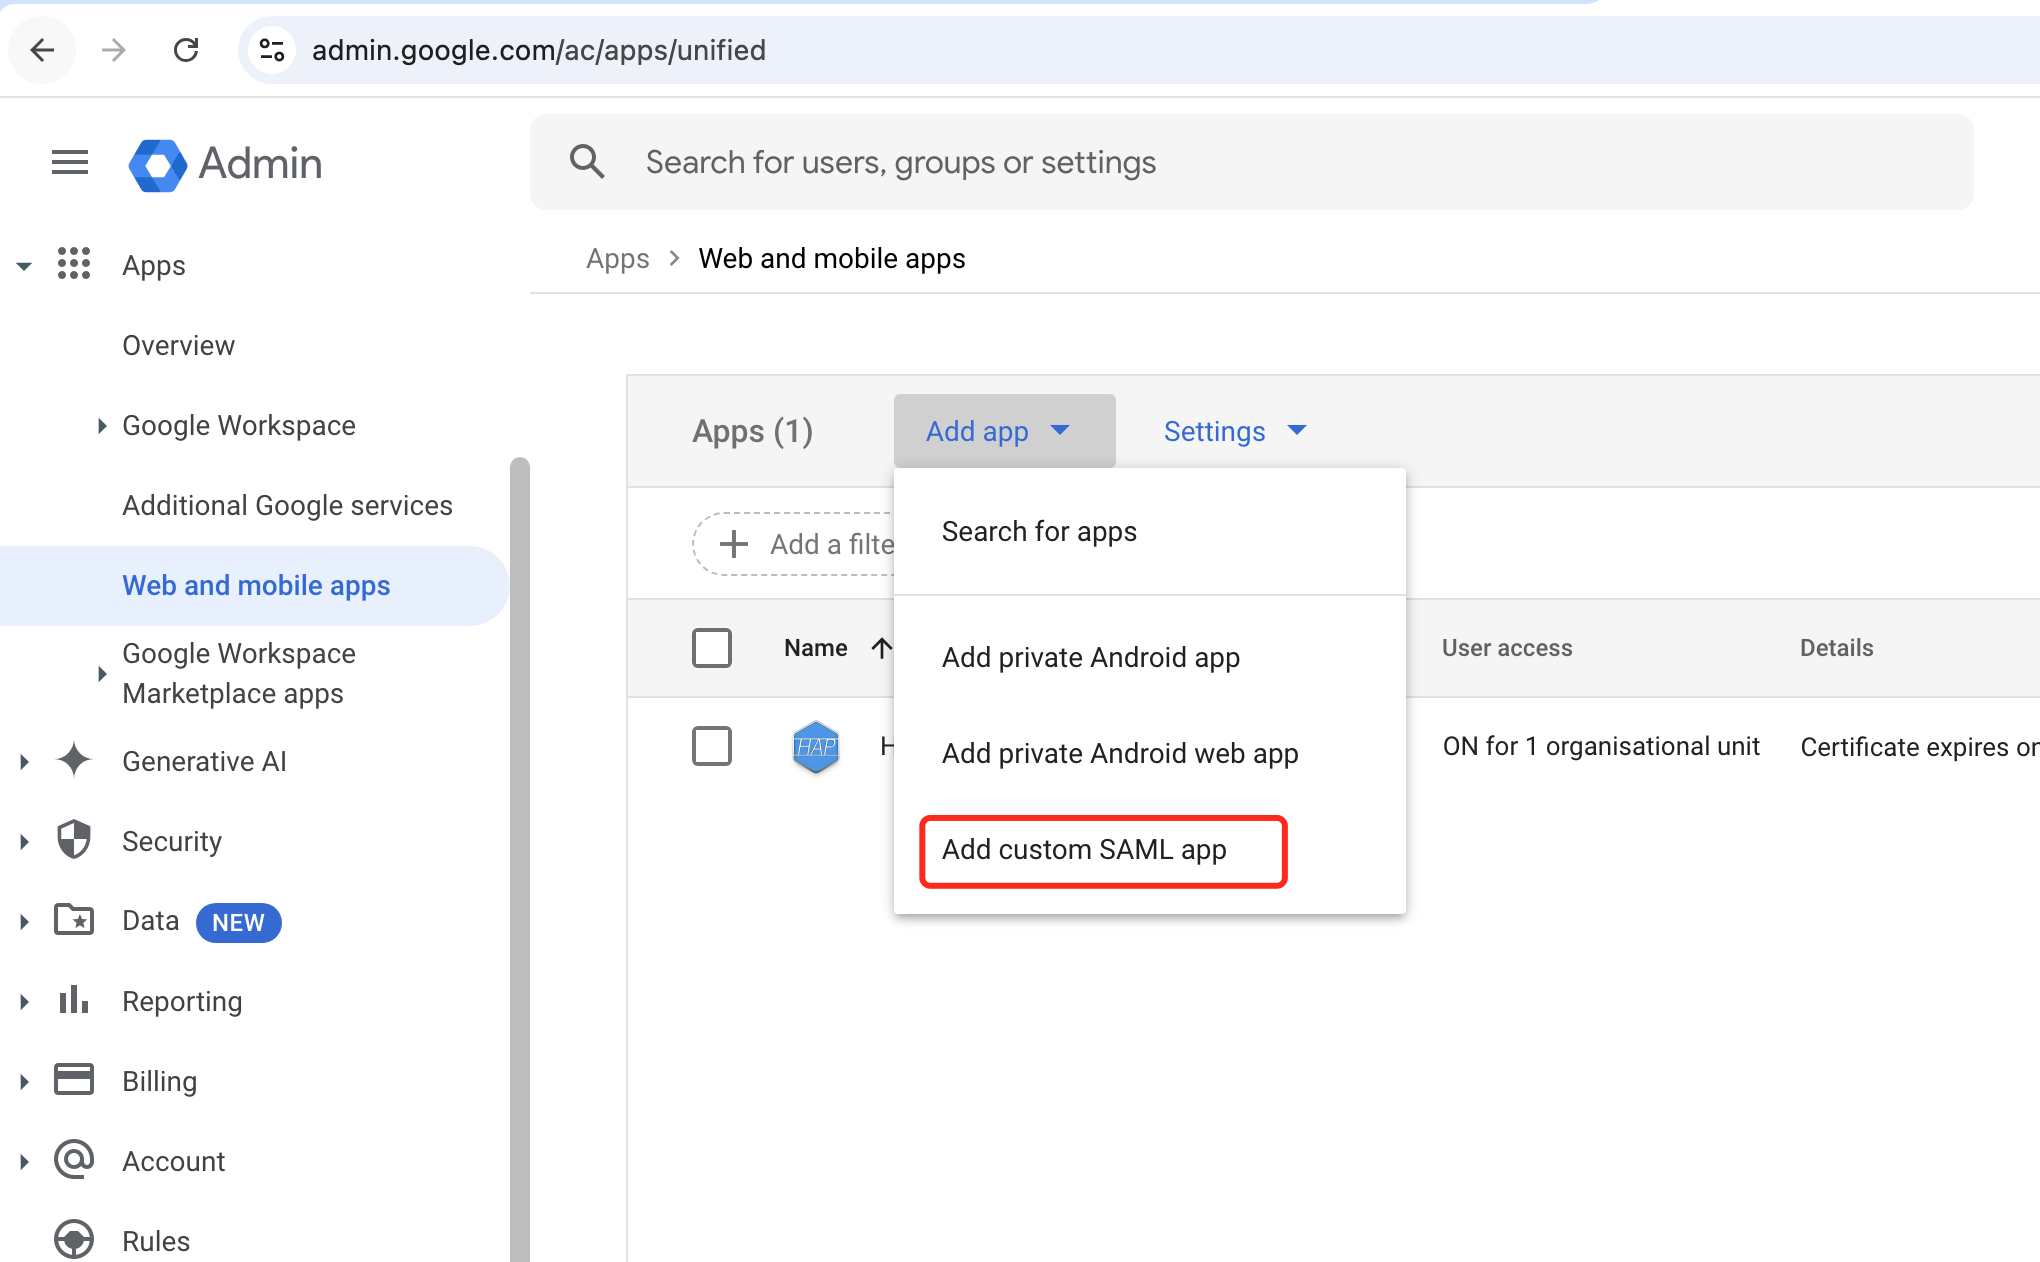
Access security settings; navigate to Apps > Web & Mobile Apps
-
Add App > Add Custom SAML App
-
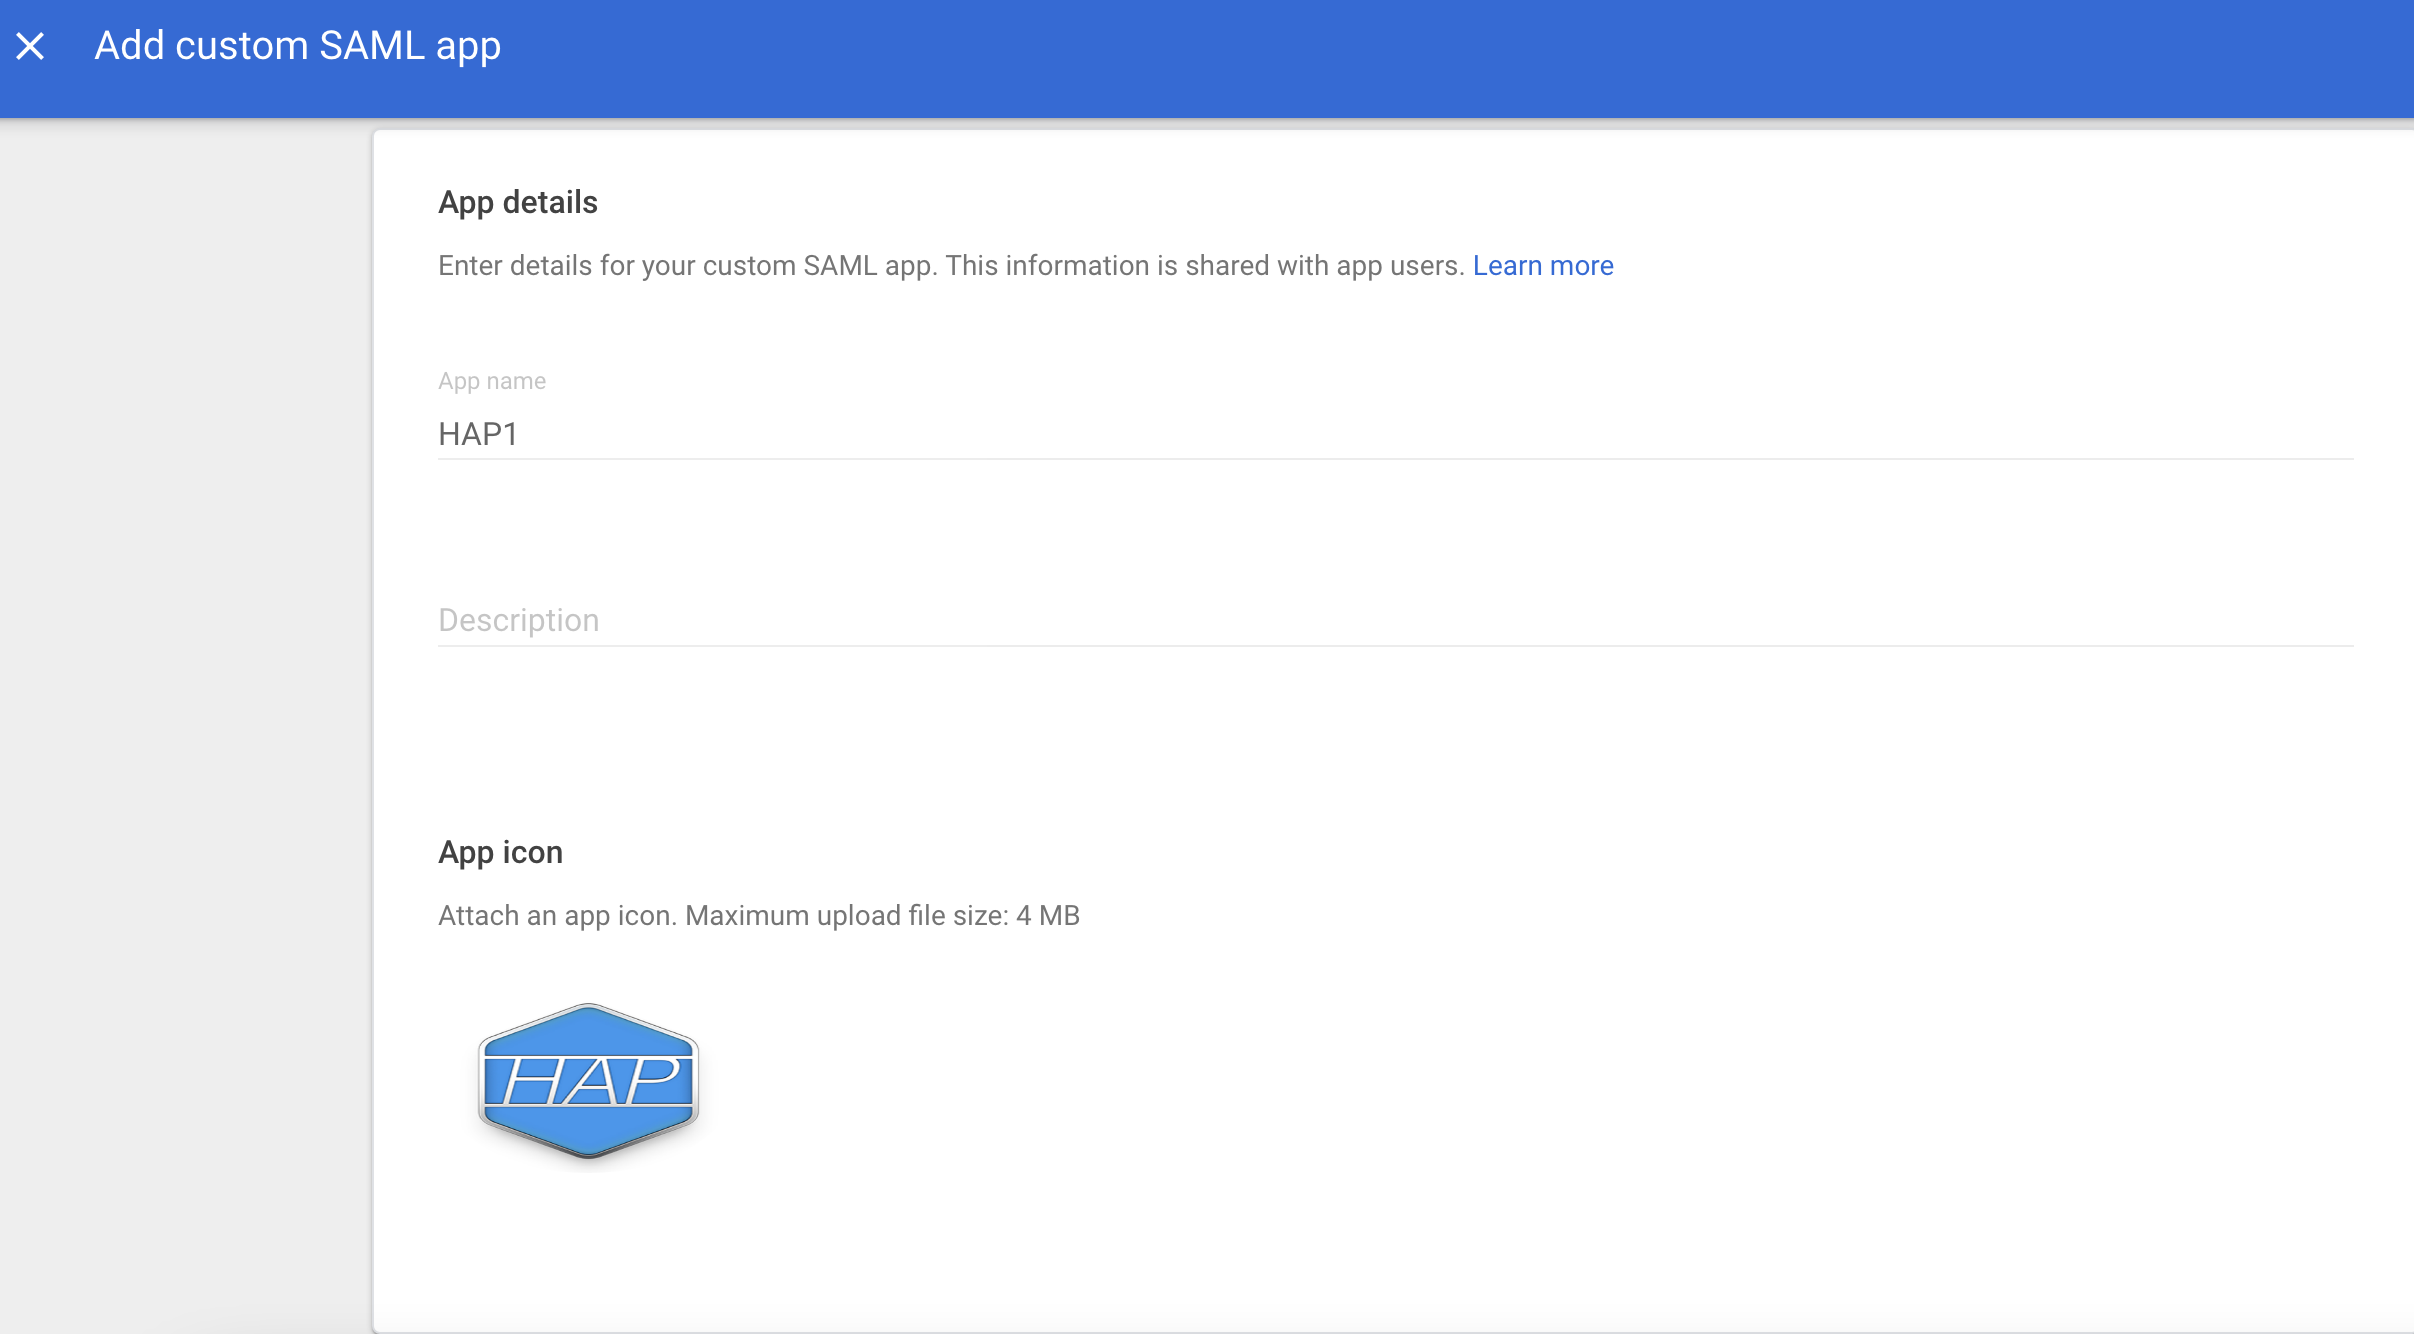
Fill in the application parameters and click continue
-
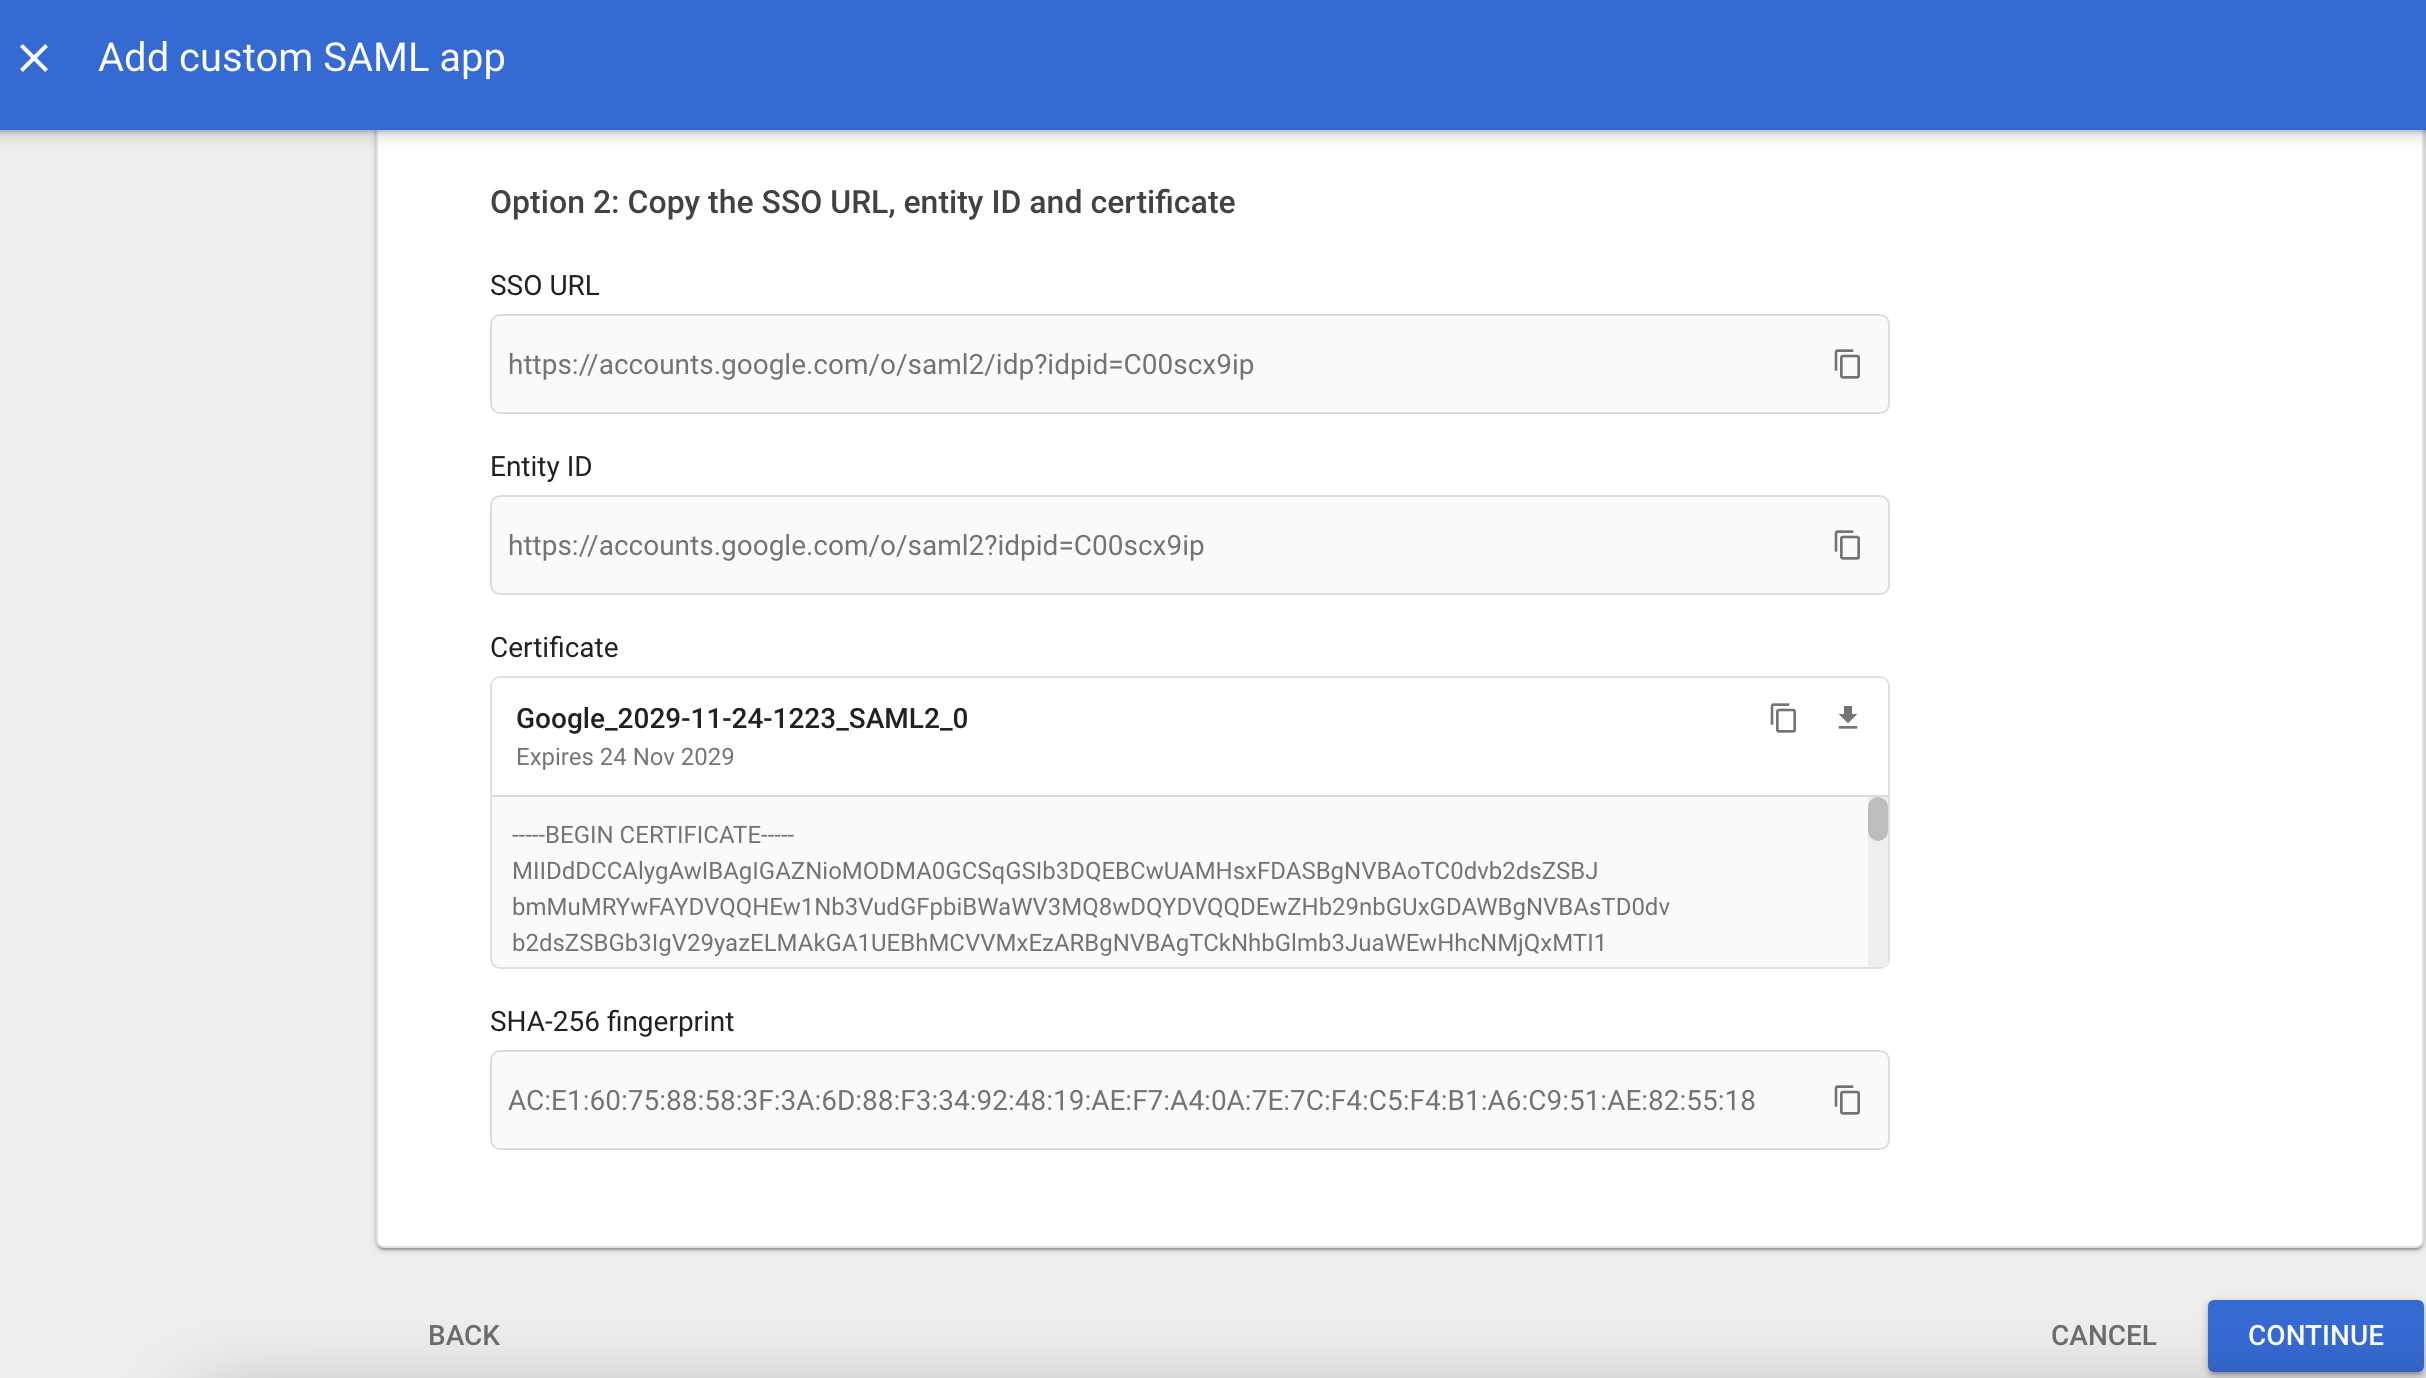
Review the IdP parameters and click continue
-
Fill in the parameters ACS URL, Entity ID. Here, enter the service address with a fixed suffix
{HAP}/orgsso/assert,{HAP}/orgsso/metadata.xml. These addresses will be configured to take effect later. Click continue.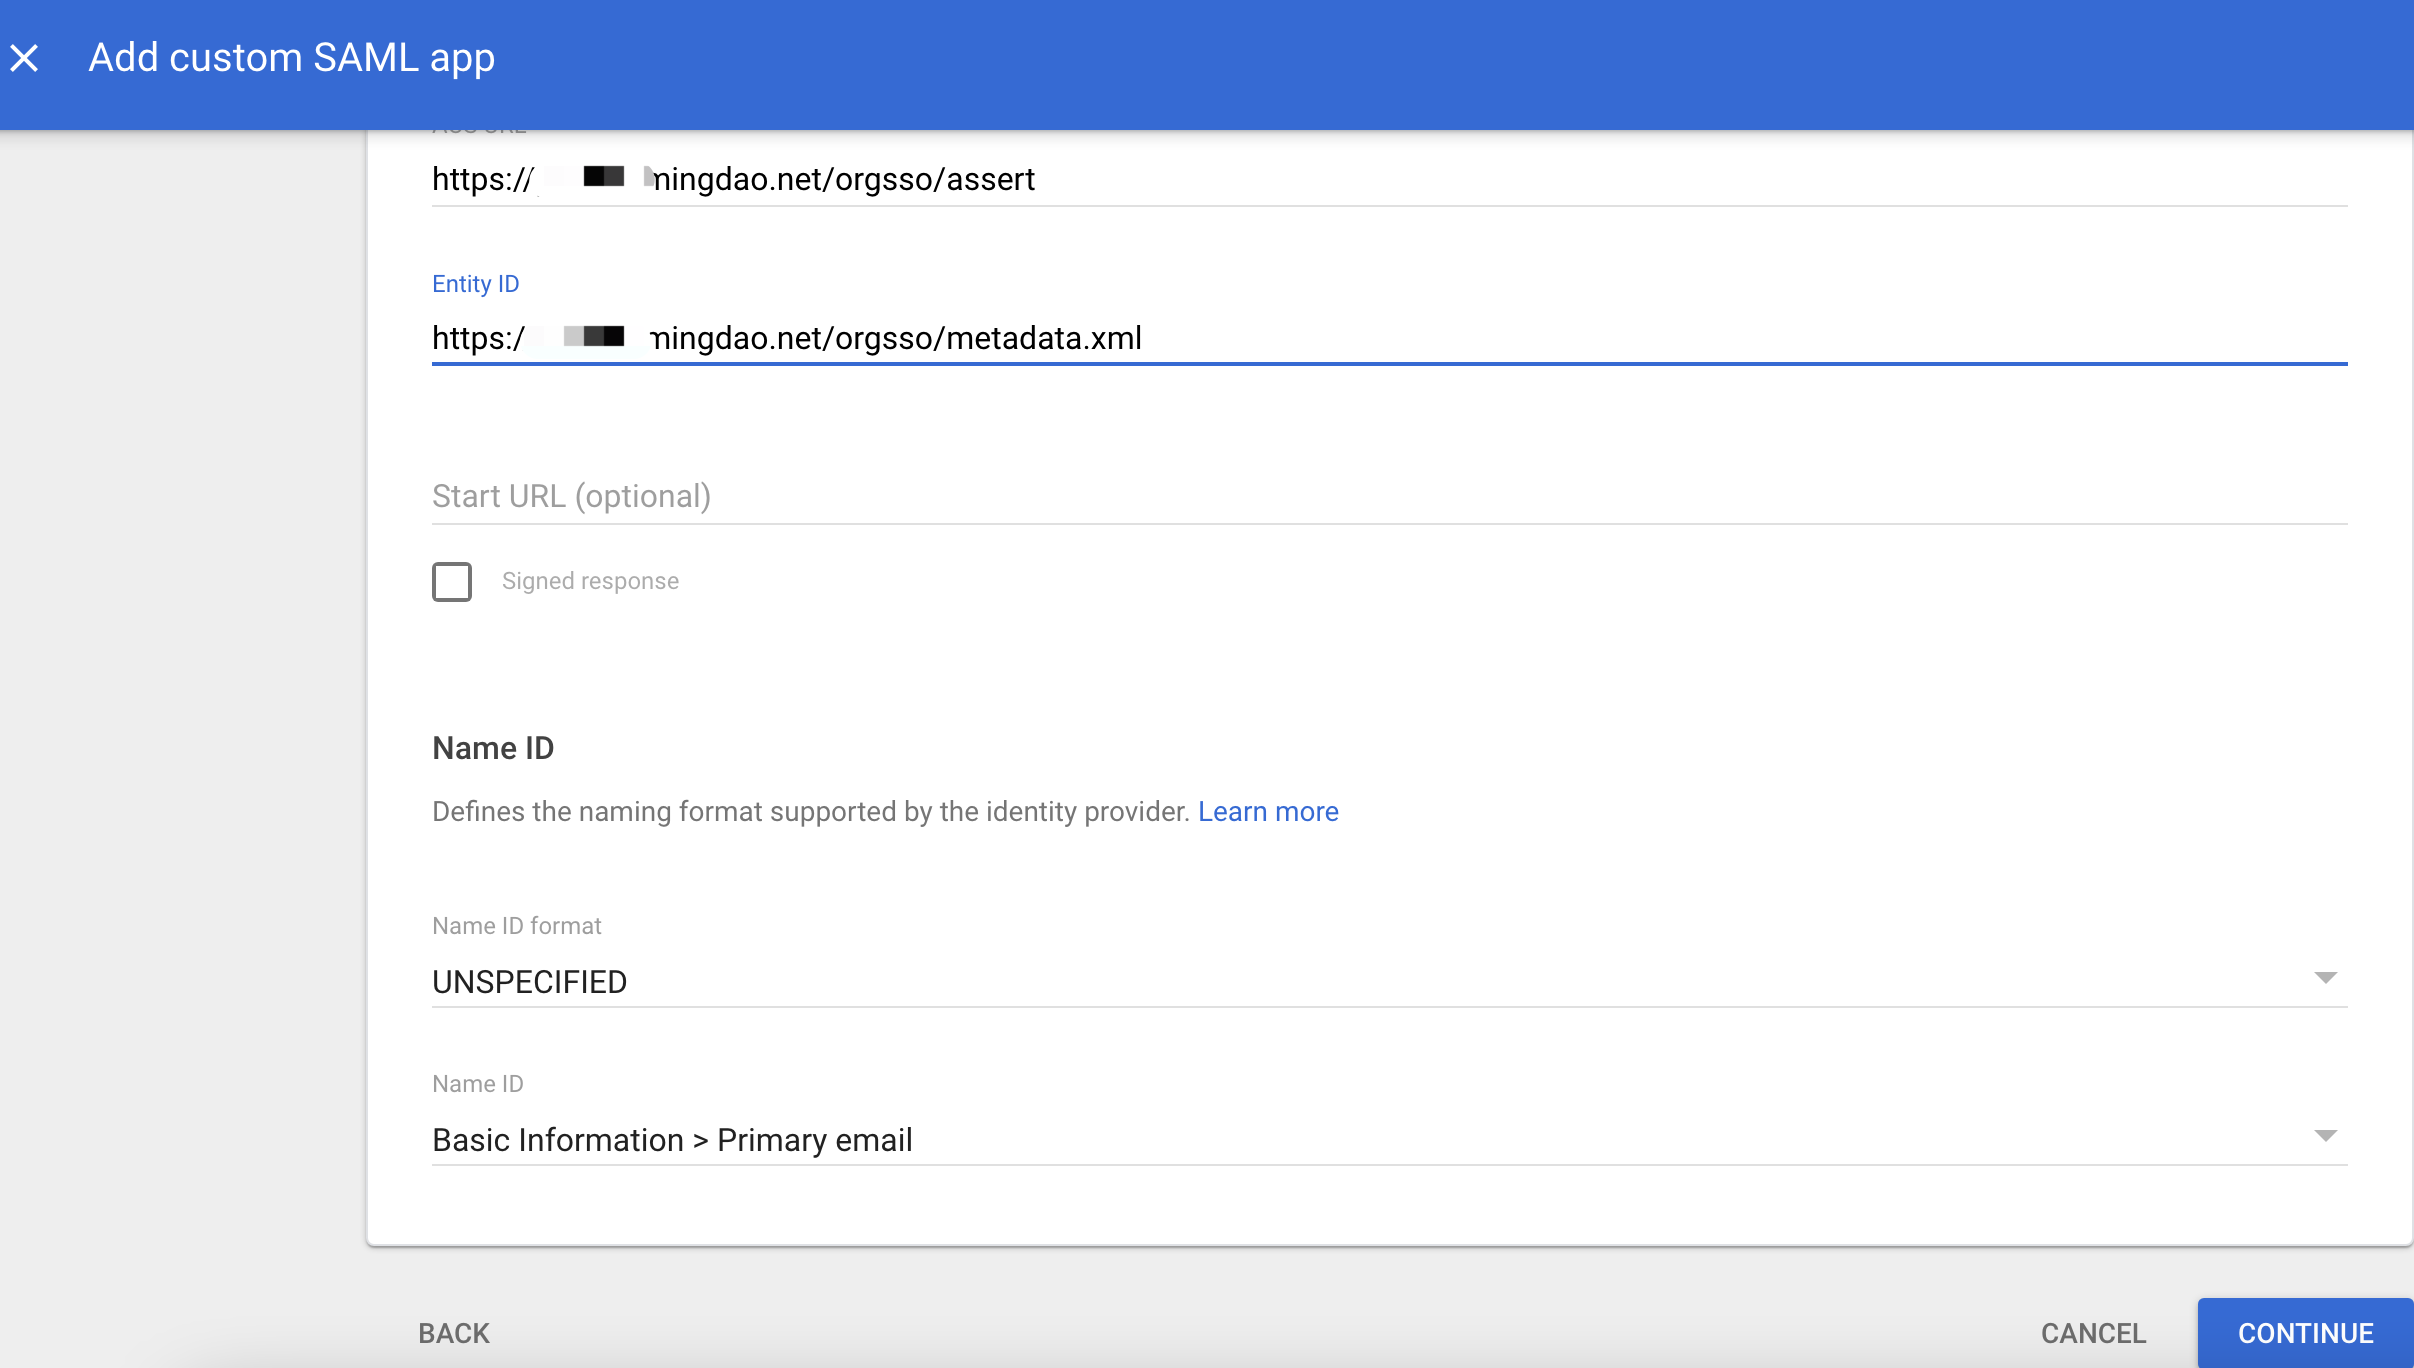
-
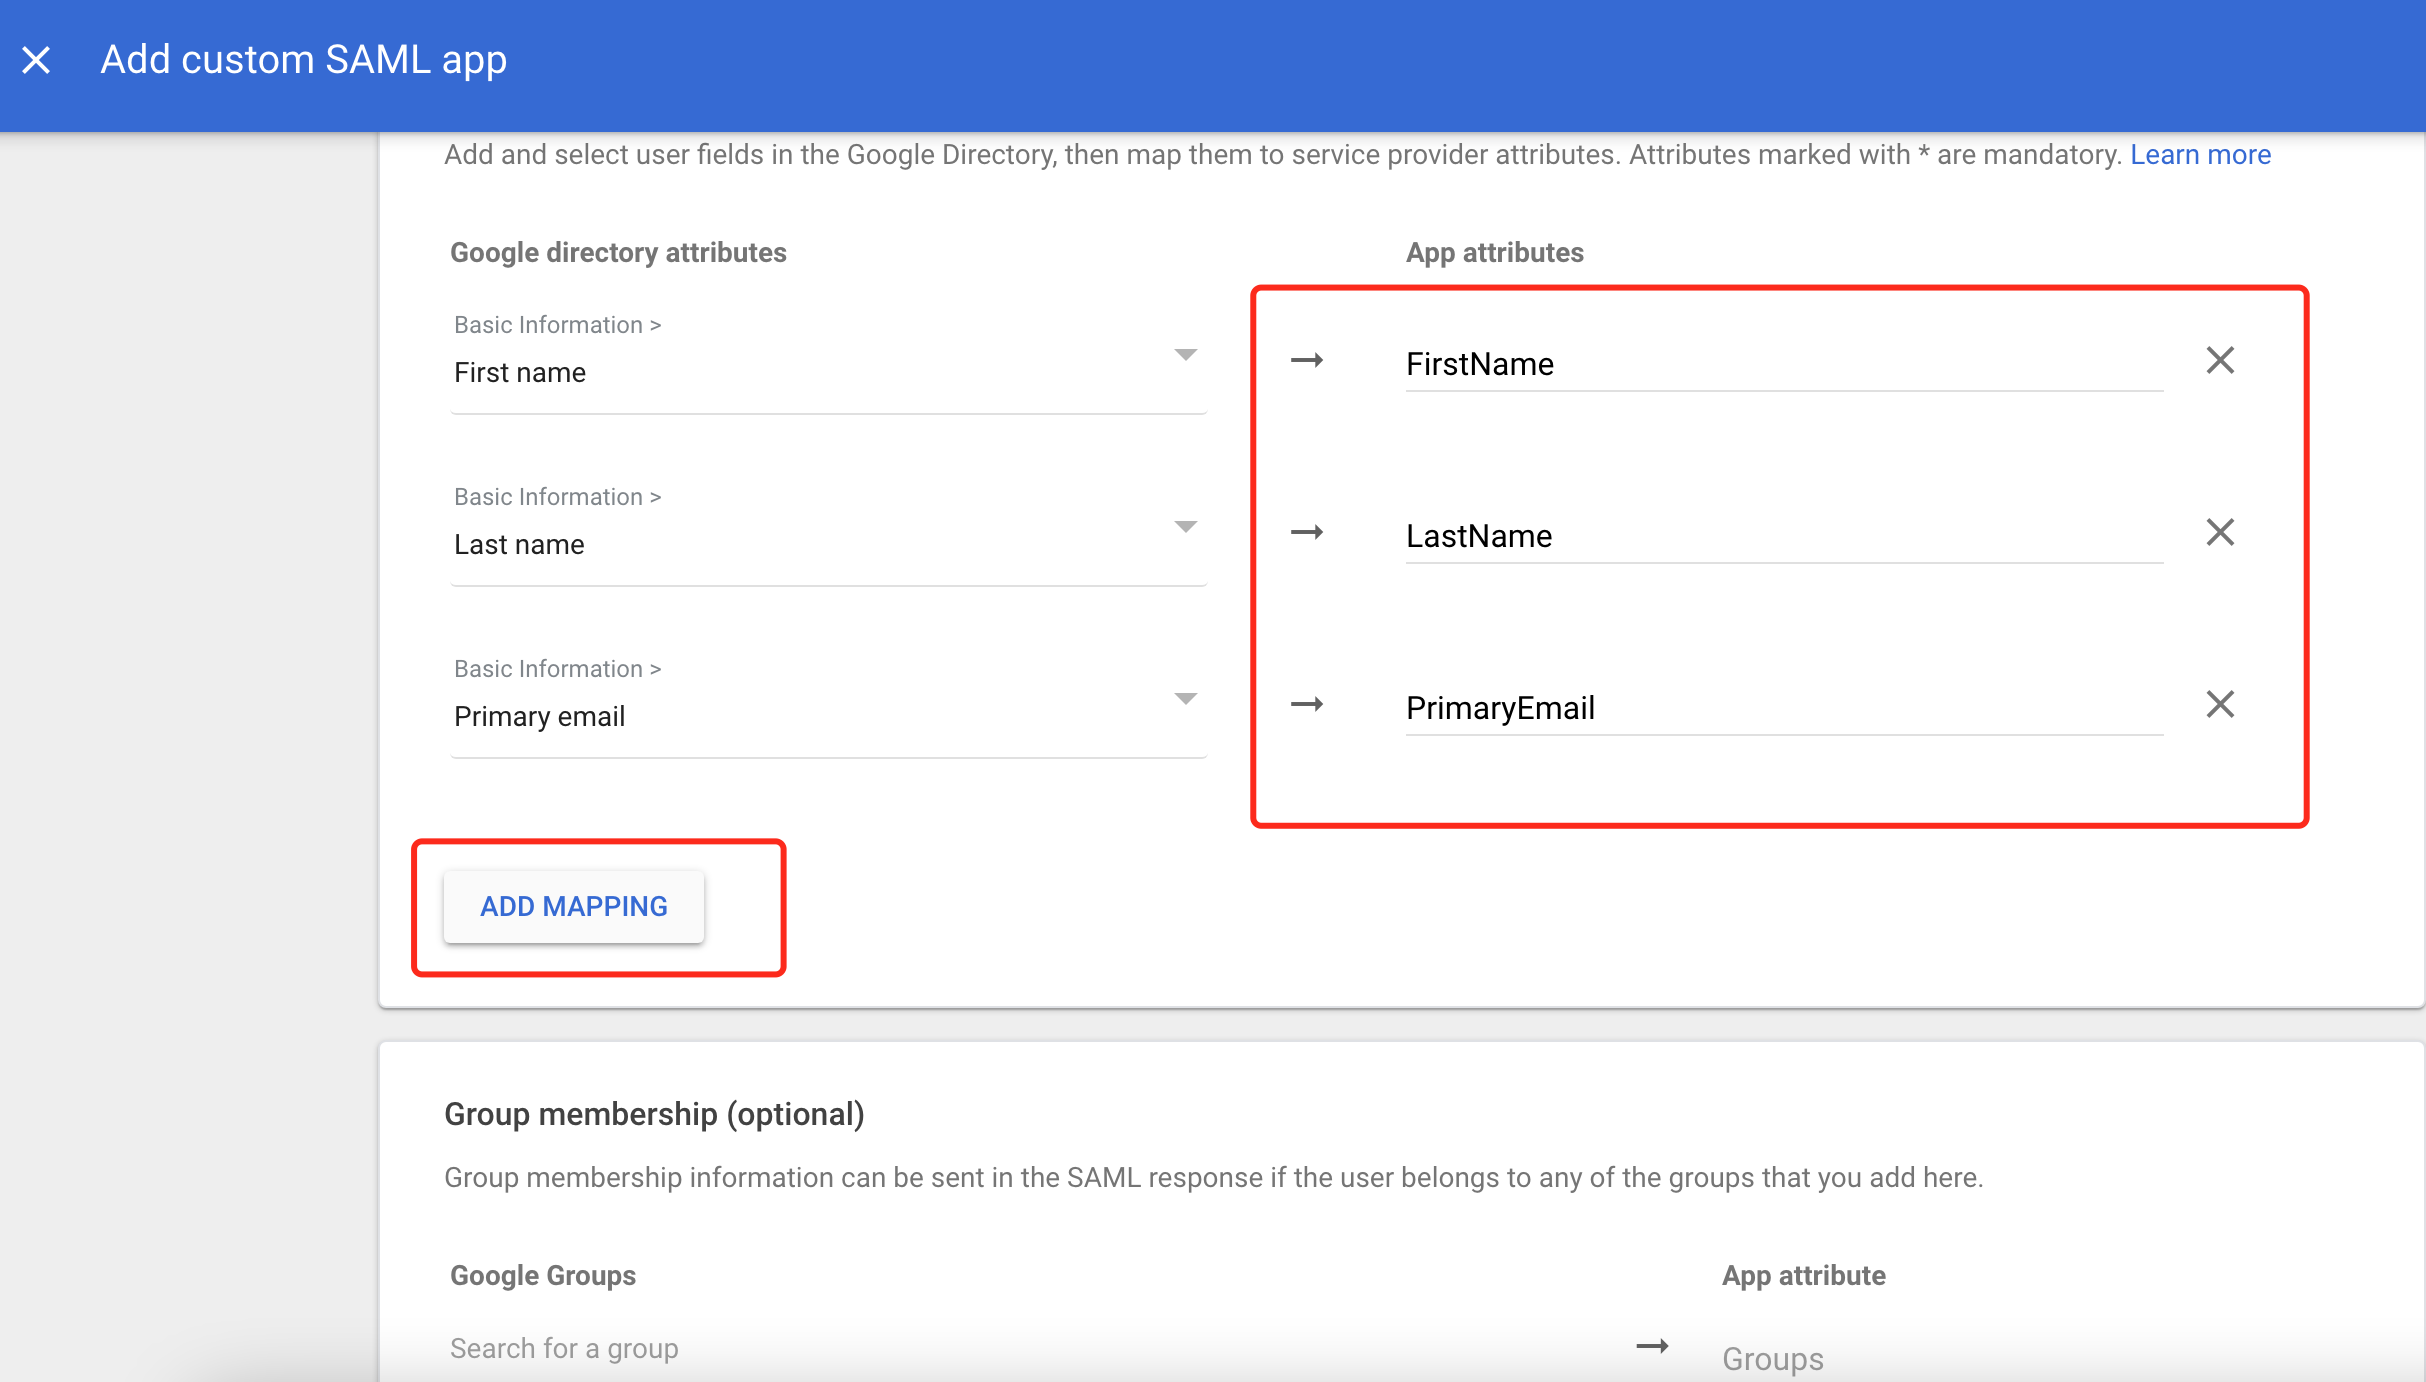
Fill in attribute mapping, set the user information attributes to be returned, such as name, email, etc., and click complete.
-
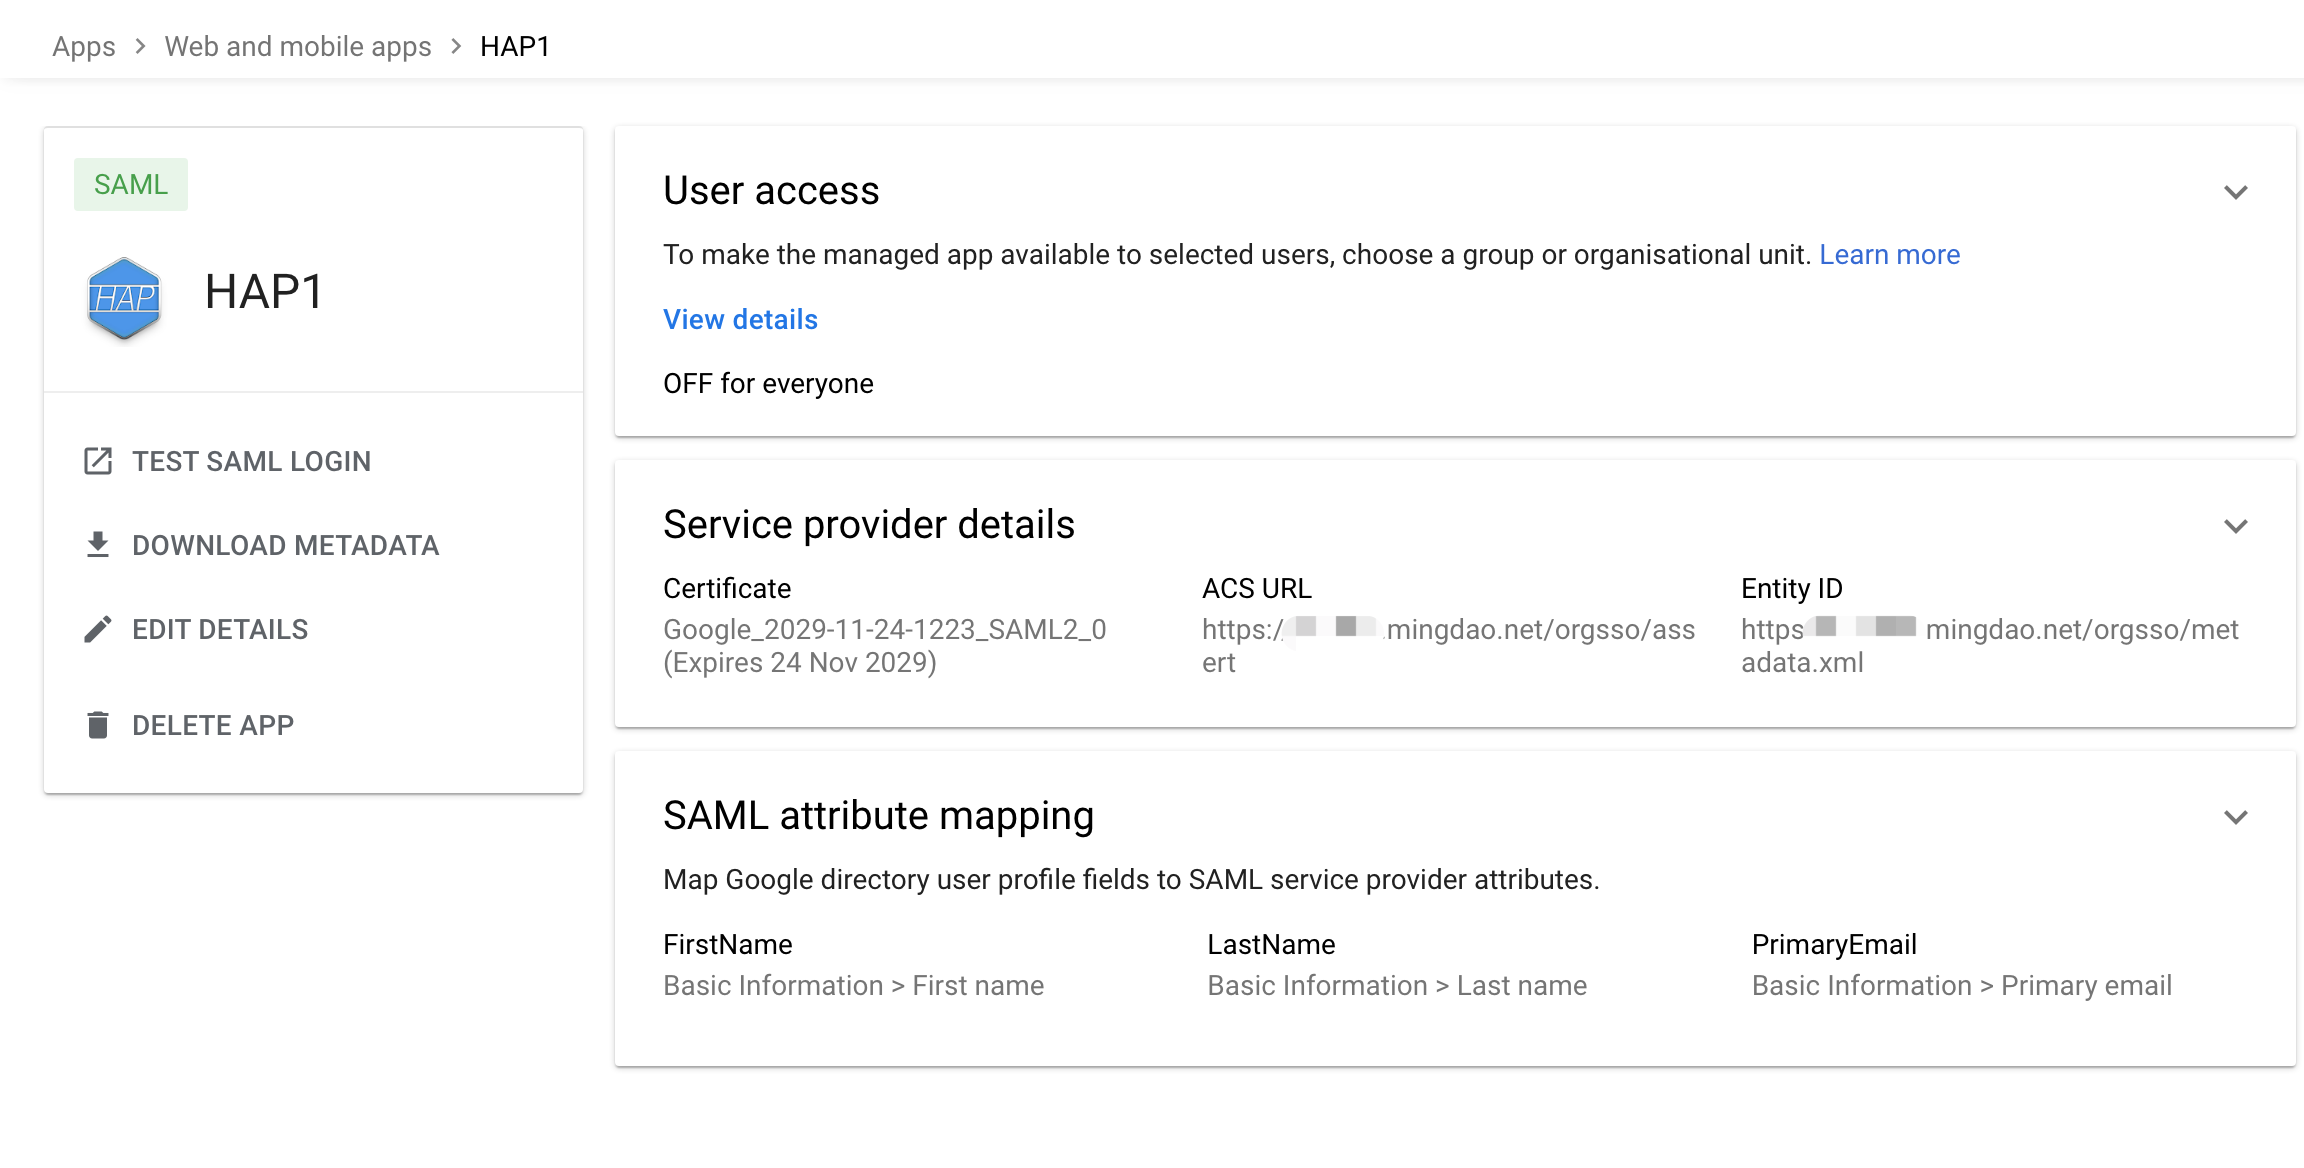
Configuration complete
-
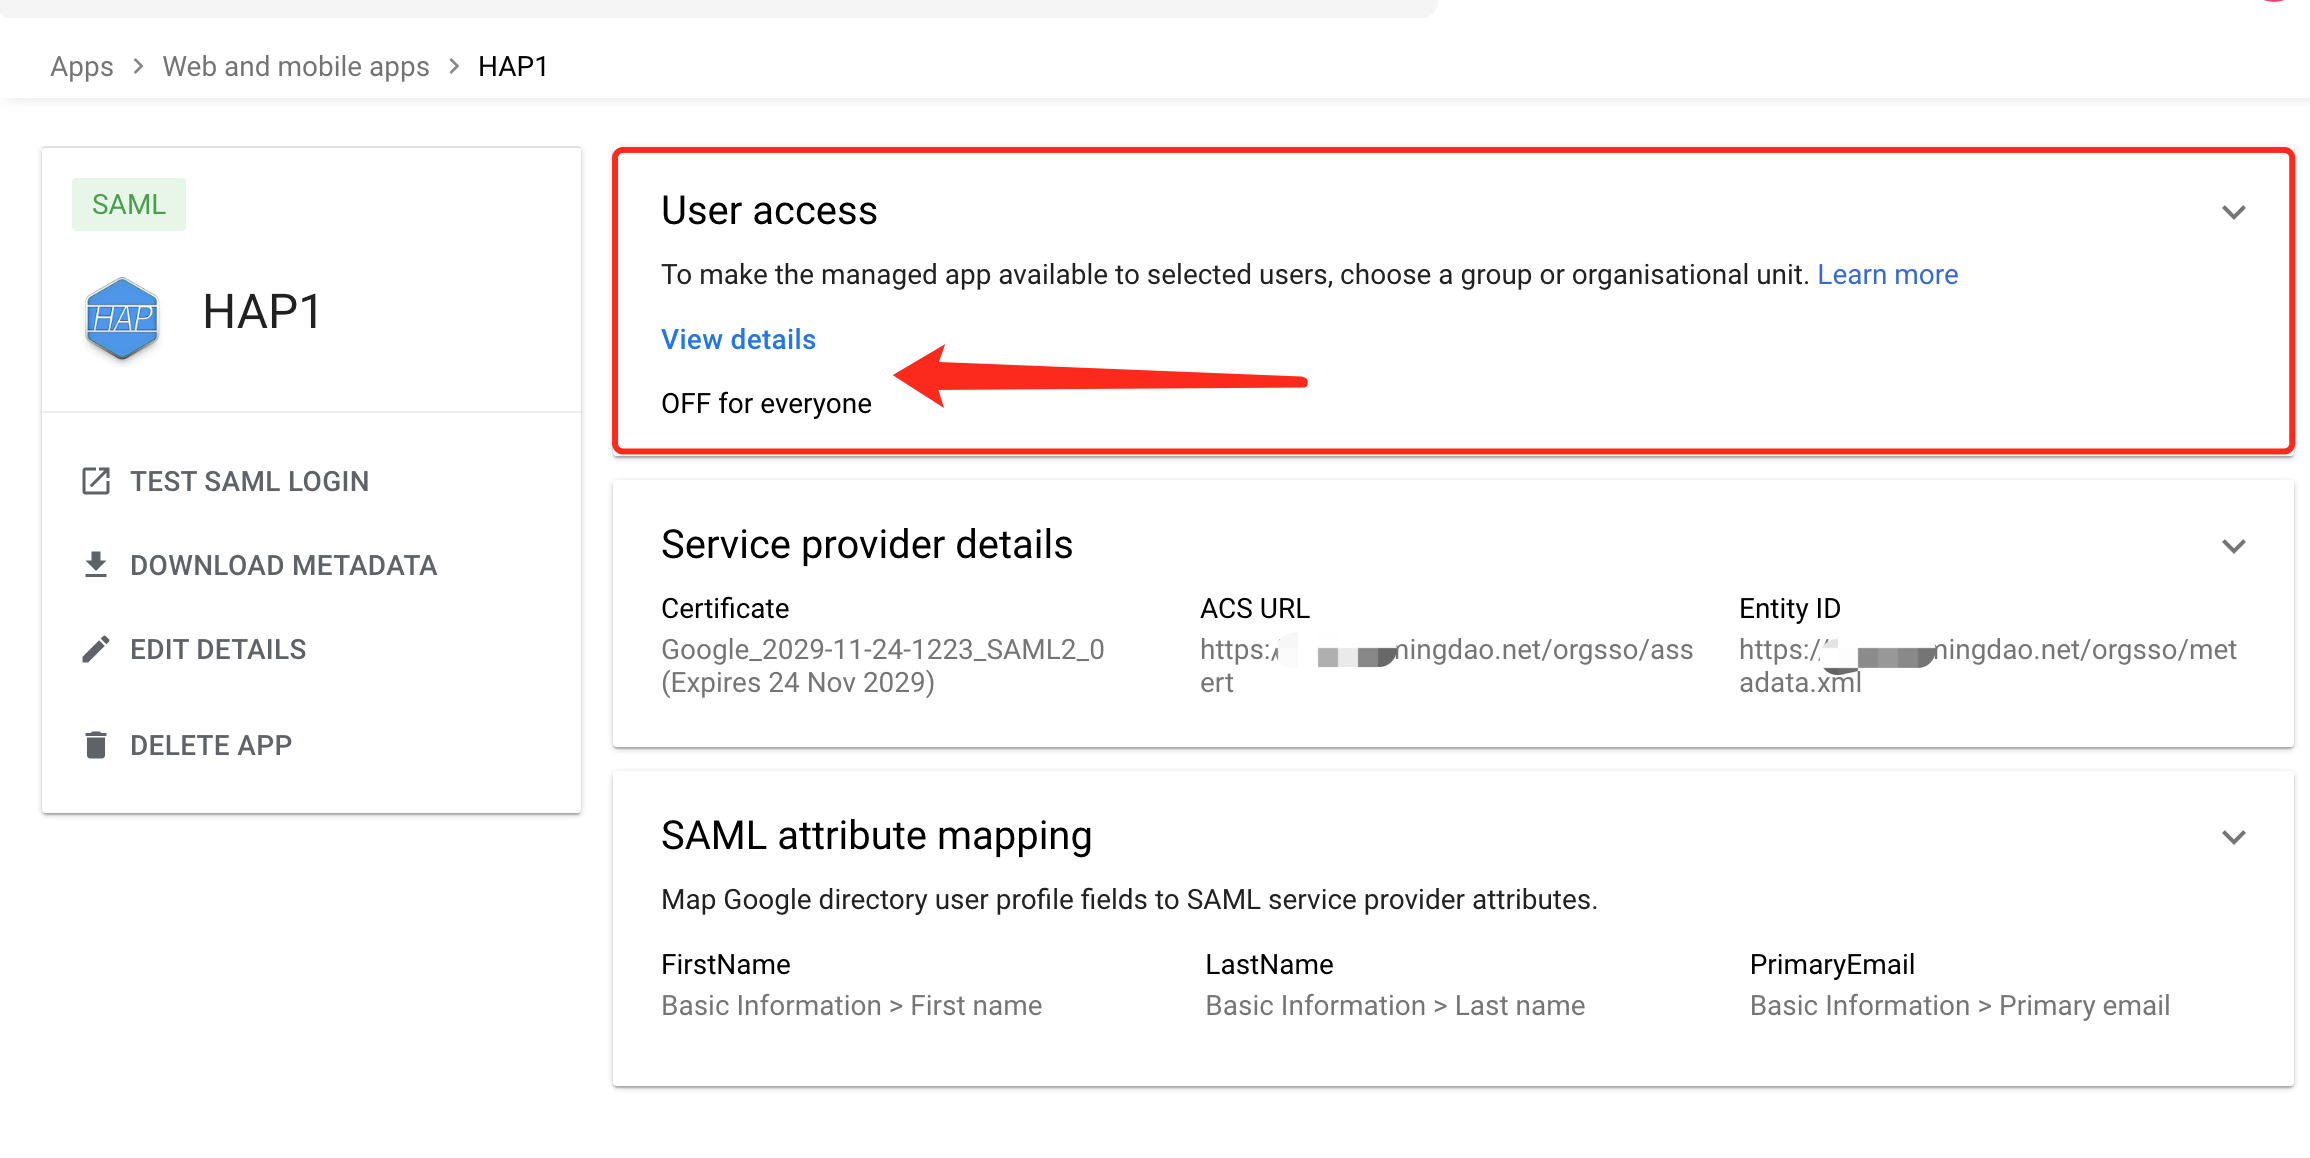
Set user access permissions
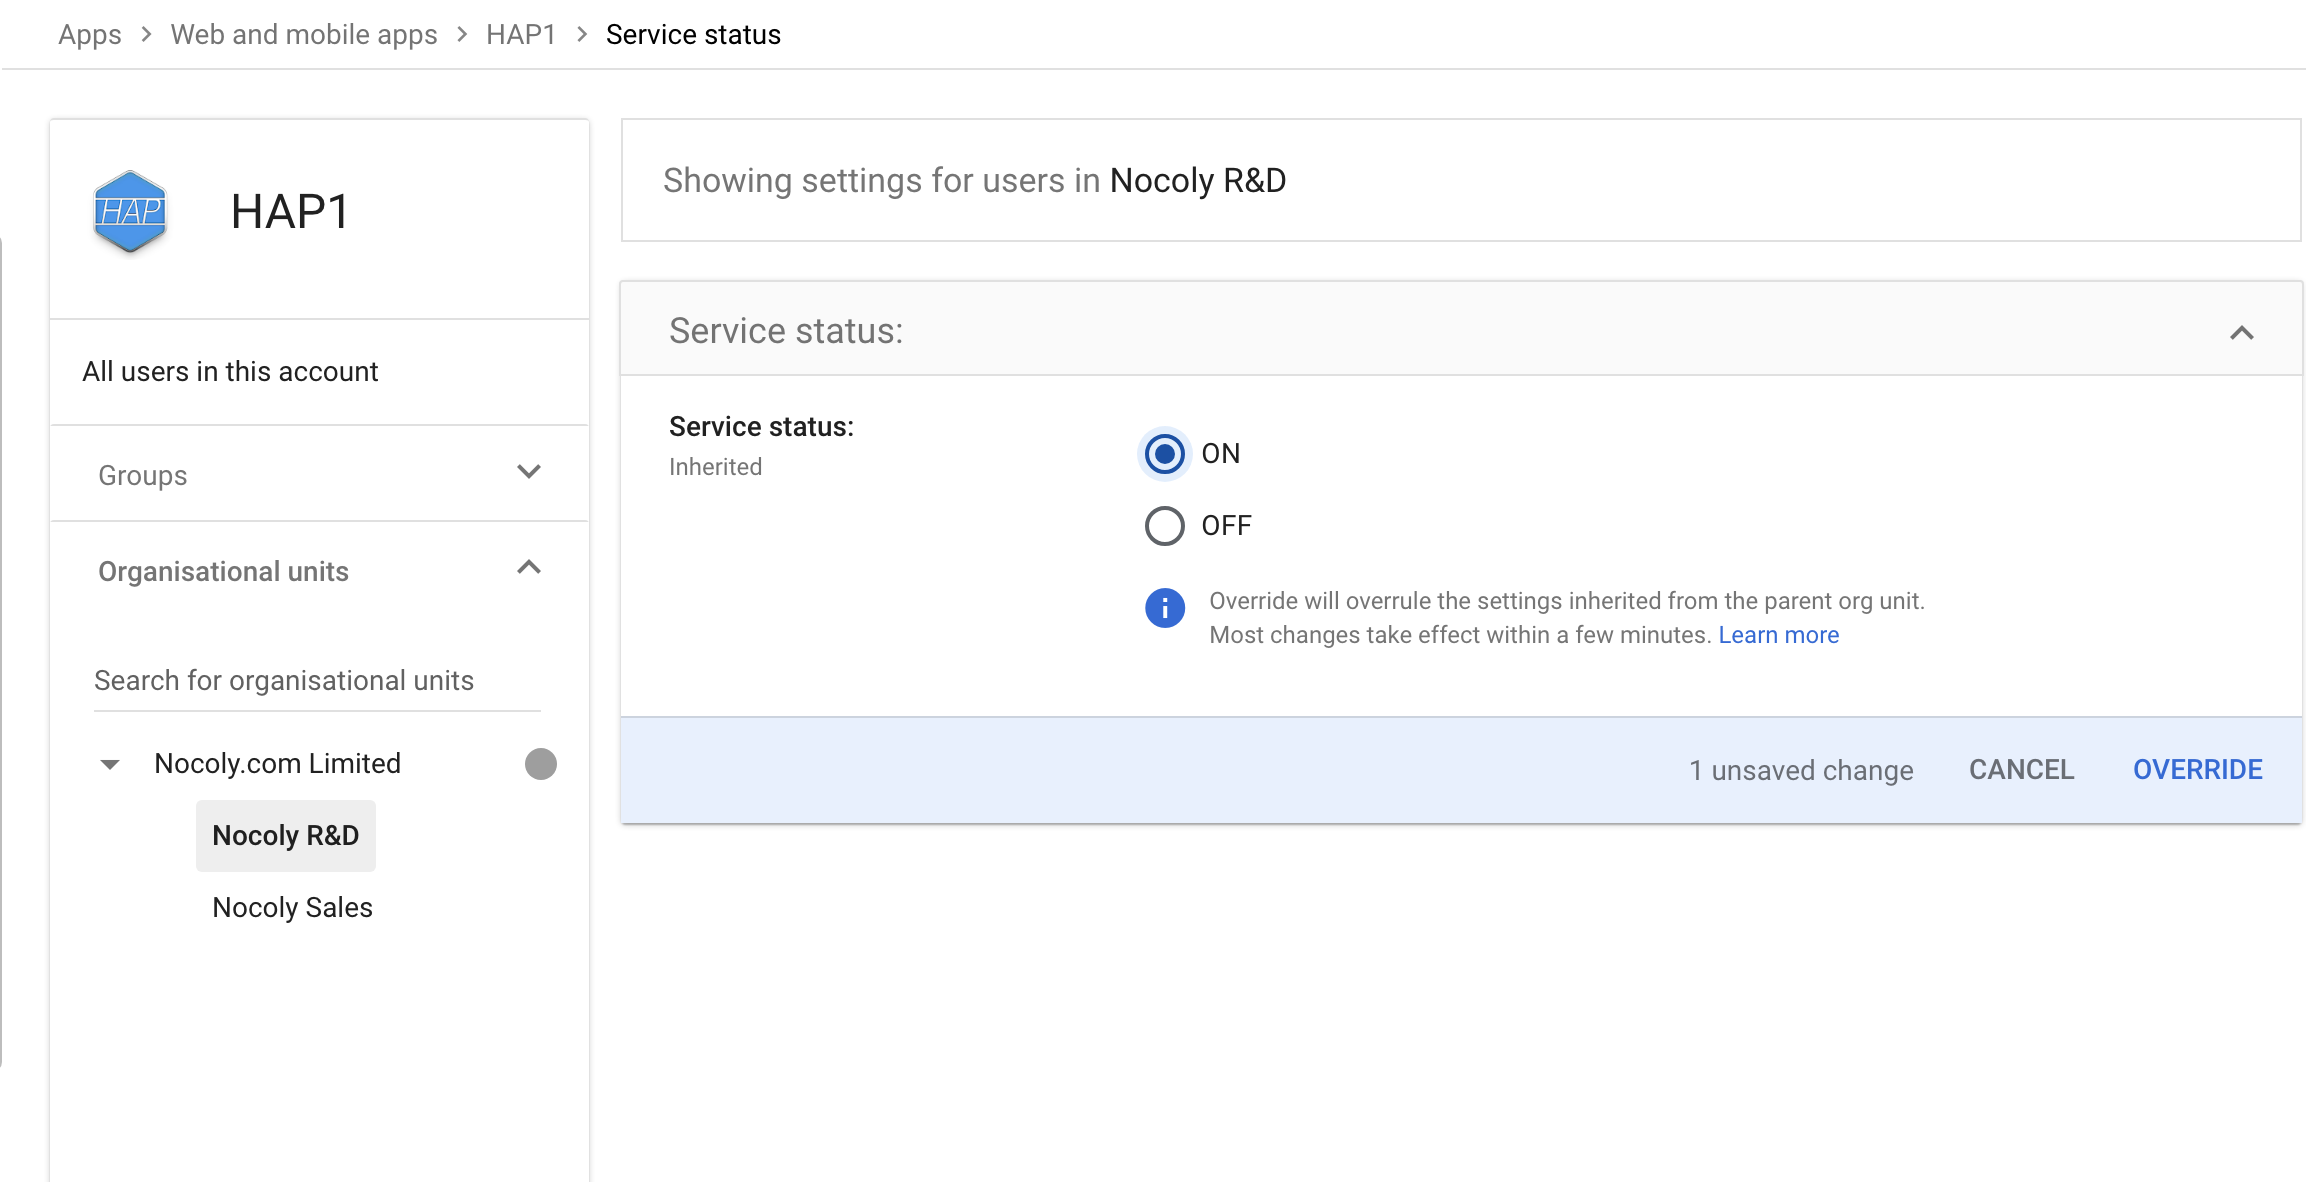
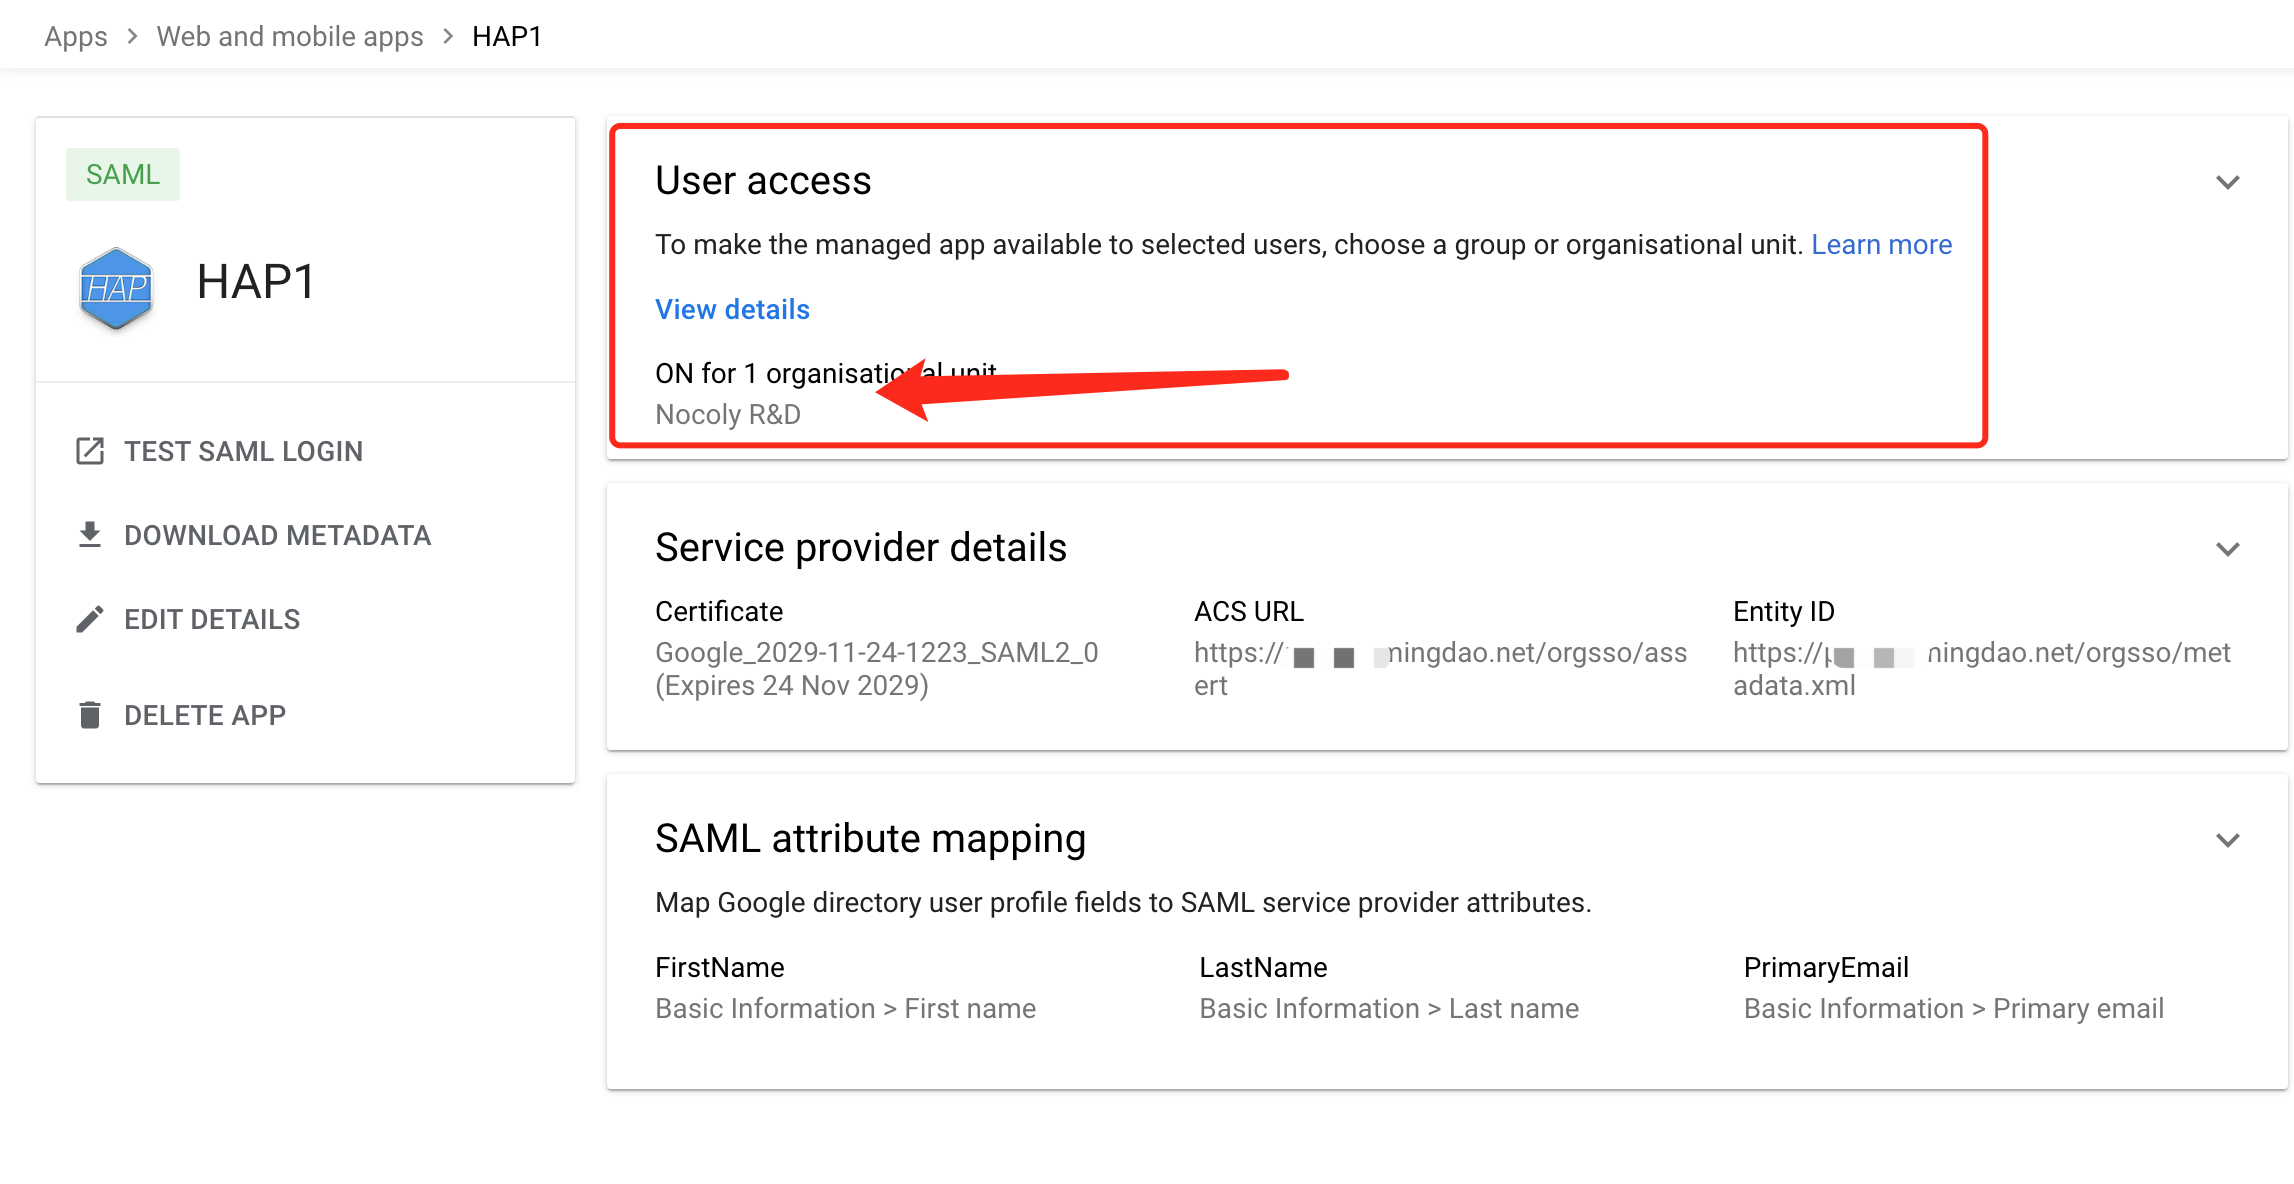
-
Download metadata, which will be used later to configure the identity authentication source (IdP) for the
HAPservice.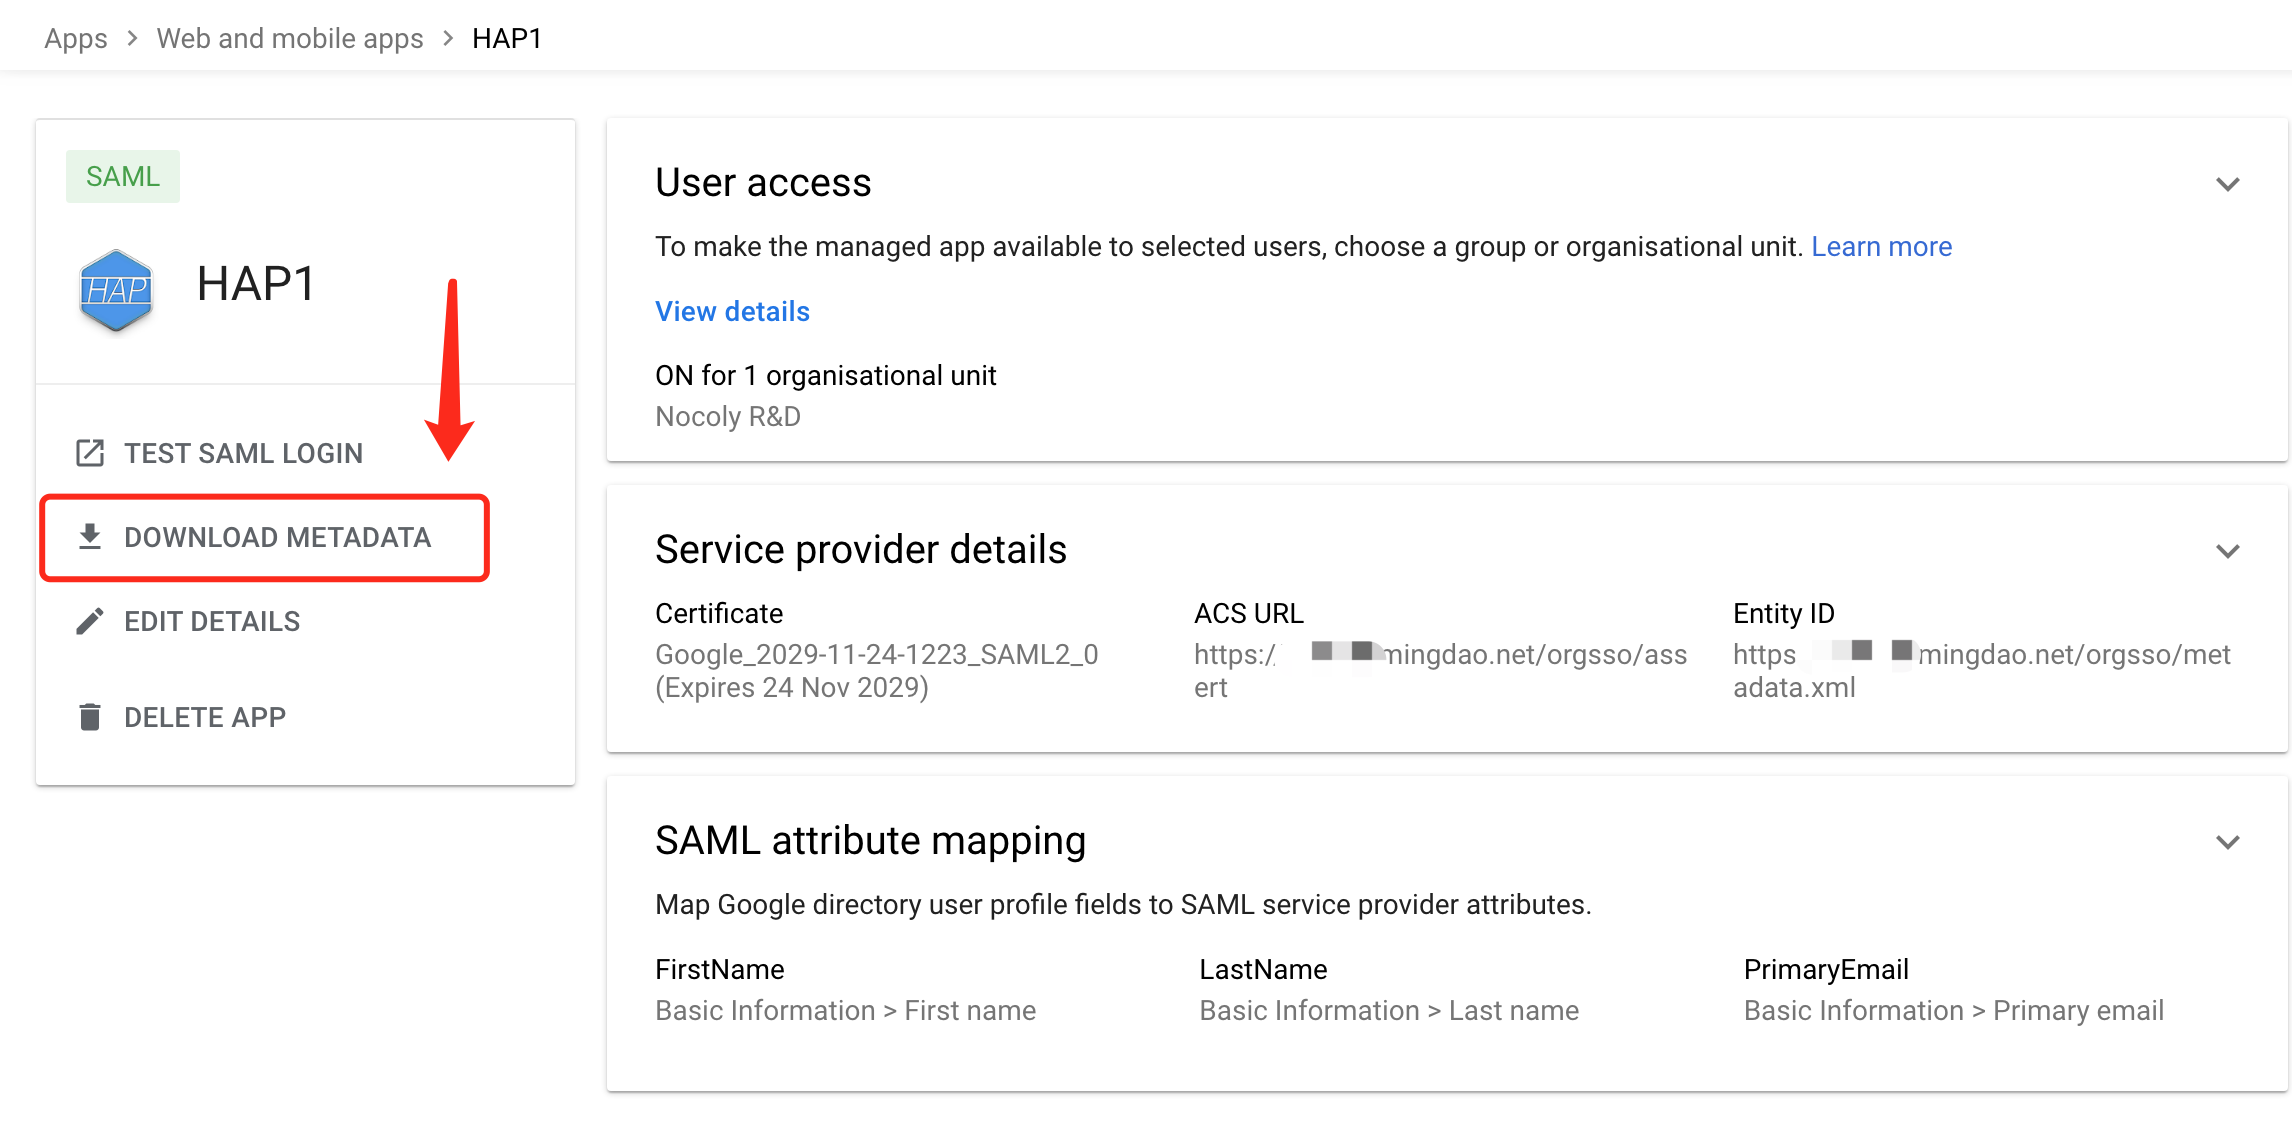
HAP Integration with SAML Application Single Sign-On
For detailed steps, refer to the private deployment documentation How to Integrate Single Sign-On - SAML2.
-
Configure
sso.json, content as follows{
"mode": "common-saml2",
"name": "saml2",
"saml2": {
"entityId": "{HAP}/orgsso/metadata.xml",
"assertUrl": "{HAP}/orgsso/assert",
"params": {
"UserId": "name_id", // Fill in the user's unique attribute, the default name_id
"Name": "FirstName", // Fill in the FirstName attribute of the attribute map
"Email": "PrimaryEmail" // Fill in the PrimaryEmail attribute of the attribute map
},
"autoRegister": true,
"projectId": ""
}
} -
Configure
idp.xml, upload the metadata downloaded in the previous steps to the corresponding directory on the server. -
Modify
docker-compose.yaml, mount the configuration files (there are differences in cluster mode), and restart the service.- ./volume/sso/sso.json:/usr/local/MDPrivateDeployment/sso/OptionFile/sso.json
- ./volume/sso/metadata/idp.xml:/usr/local/MDPrivateDeployment/sso/OptionFile/metadata/idp.xml -
After the restart is complete, visit
{HAP}/orgsso/metadata.xmlto see the correspondingxmloutput.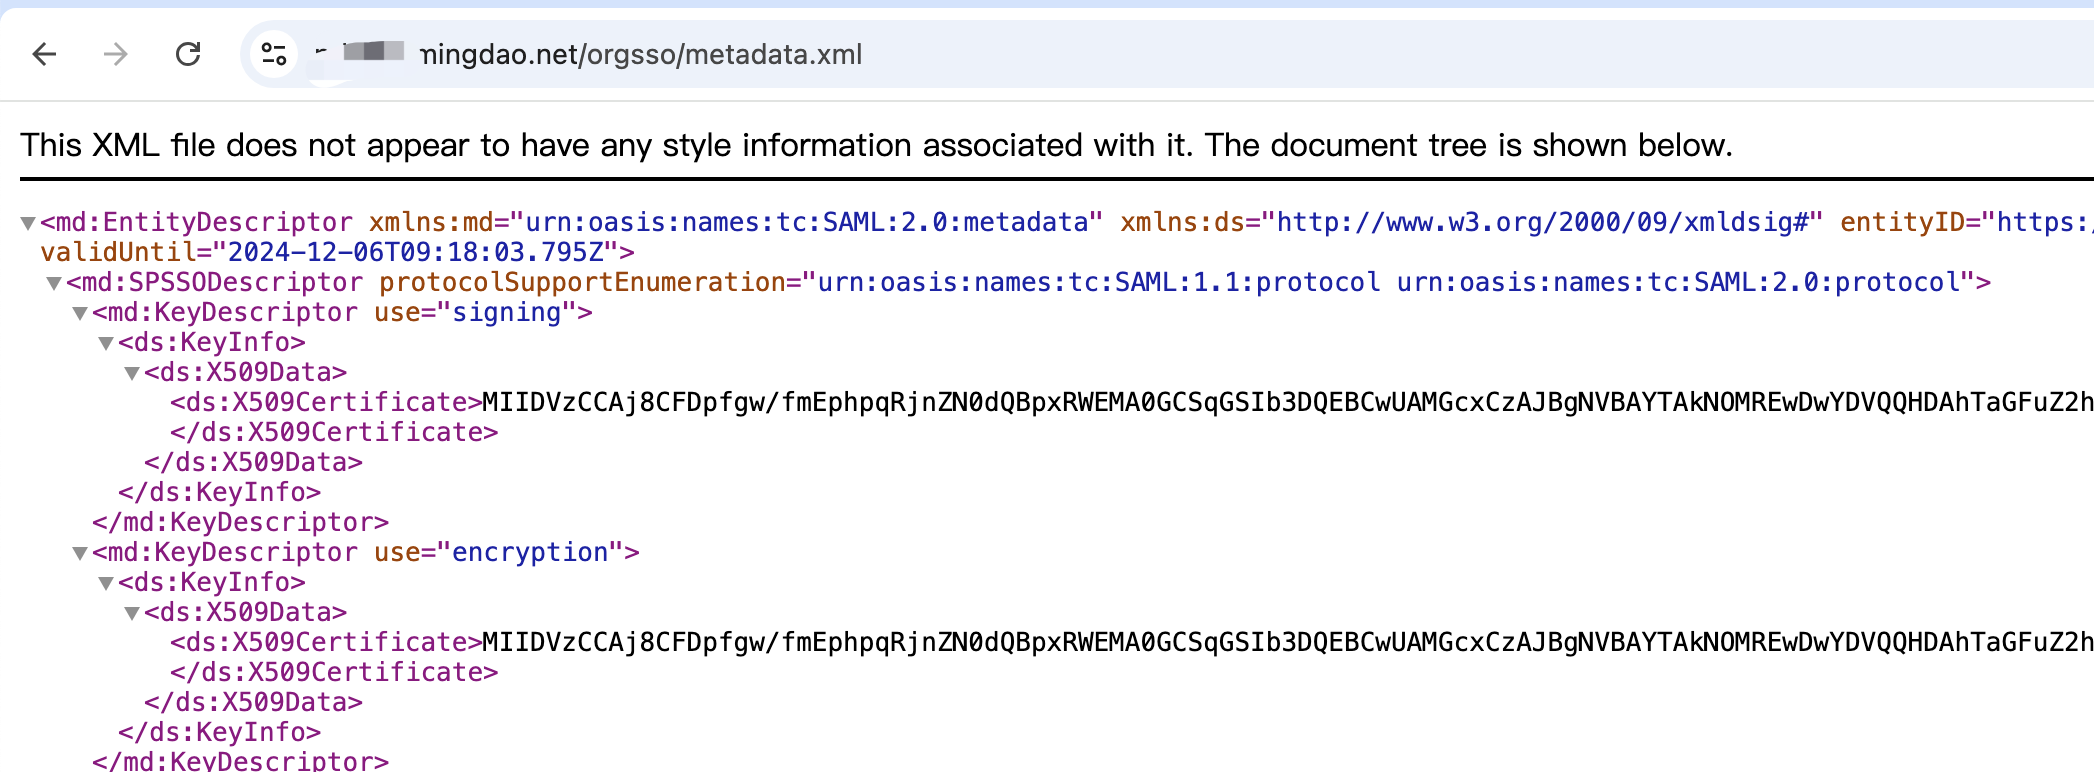
User SSO Login
-
Enter the single sign-on entry address
{HAP}/orgsso/ssoin the browser. -
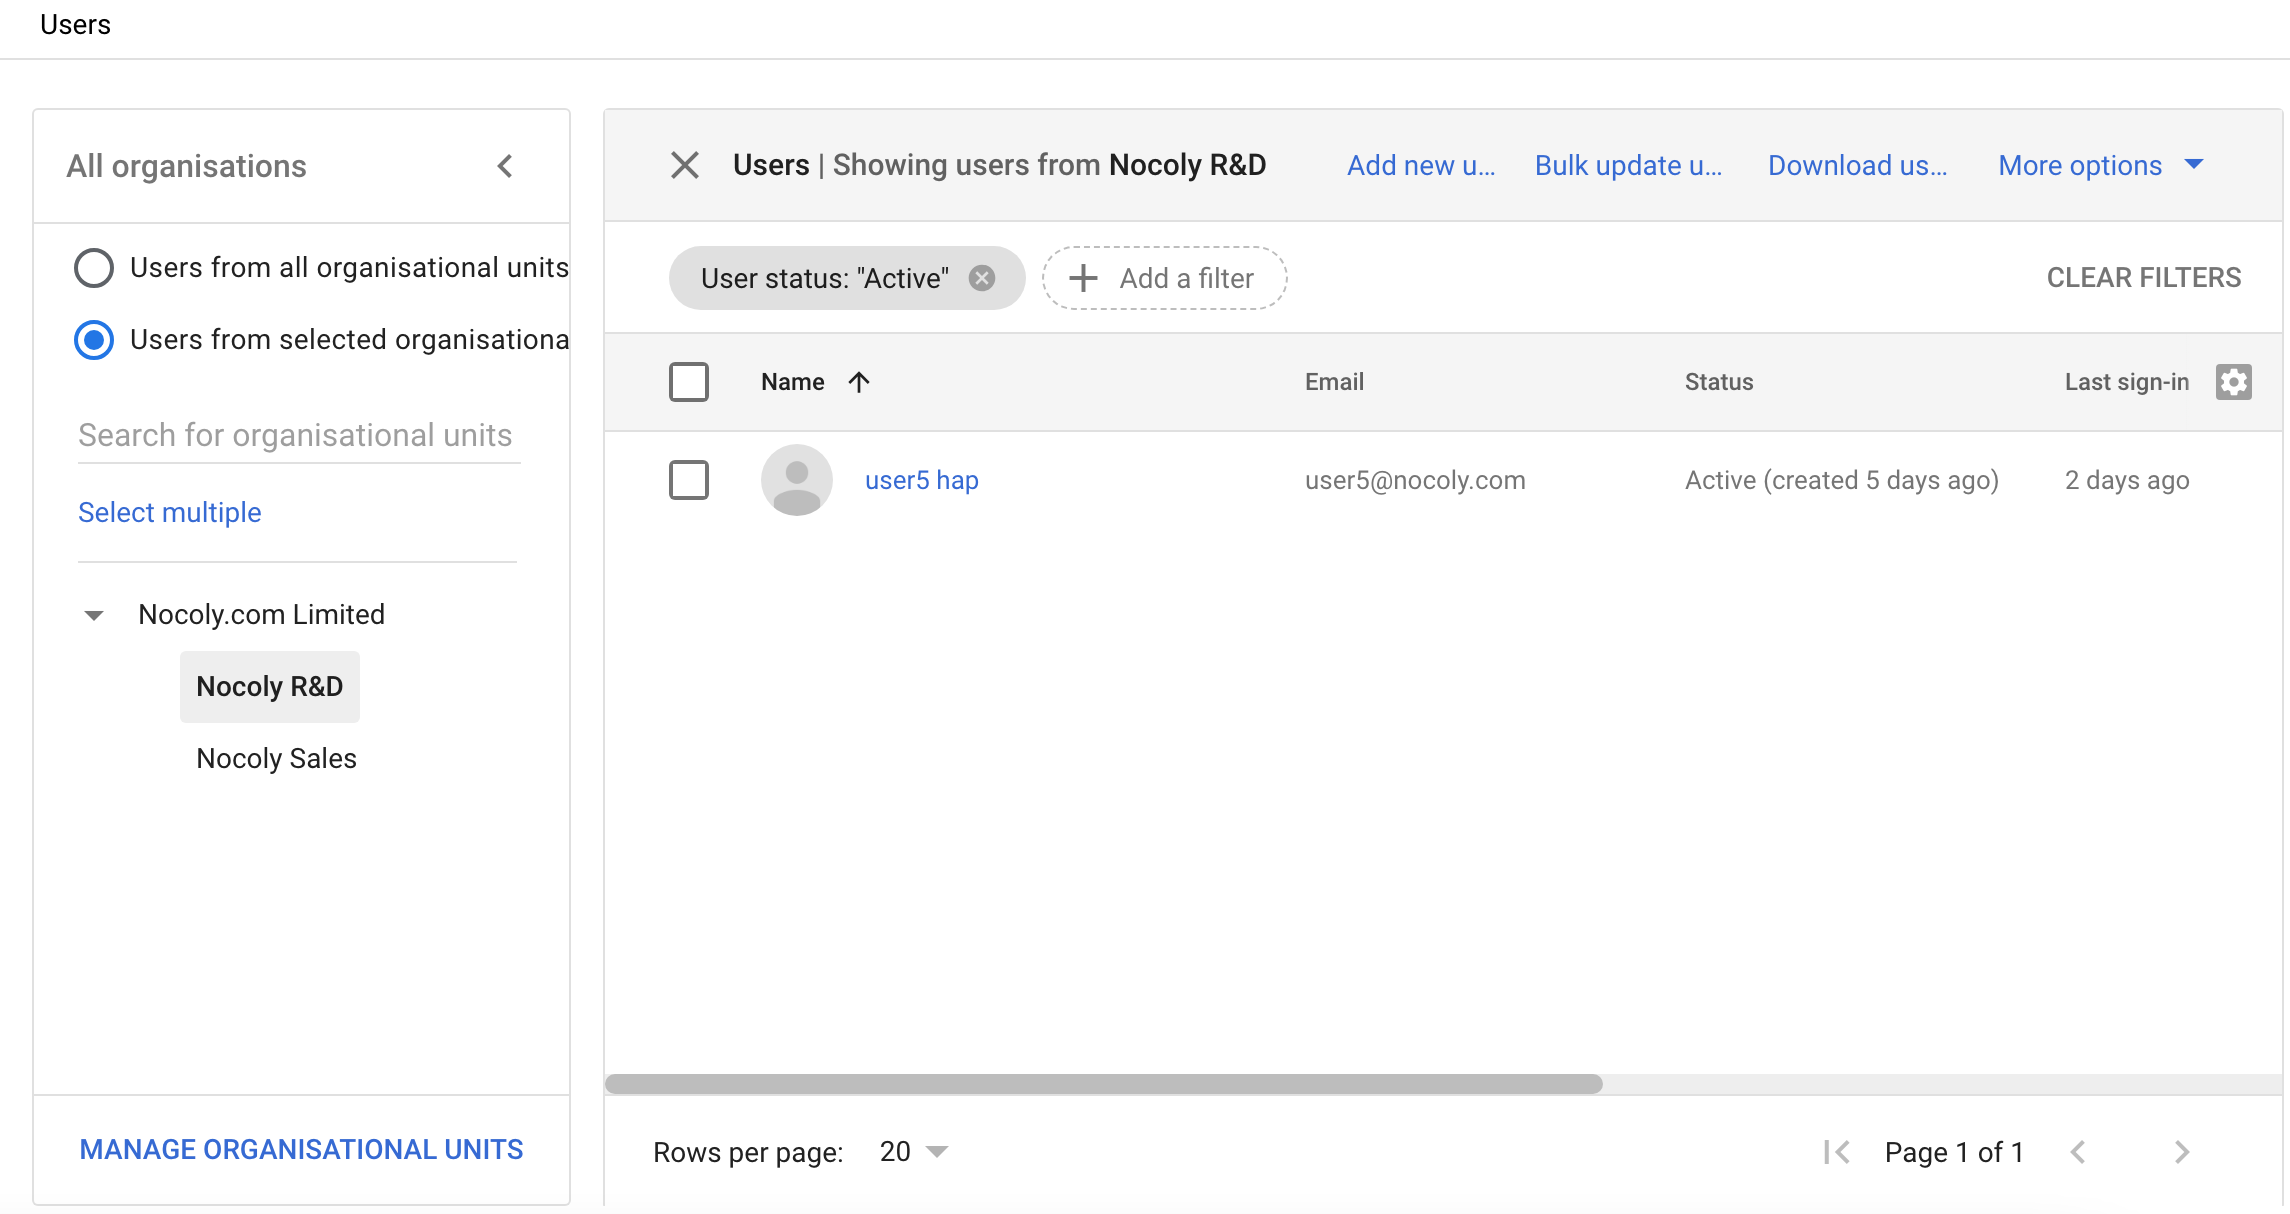
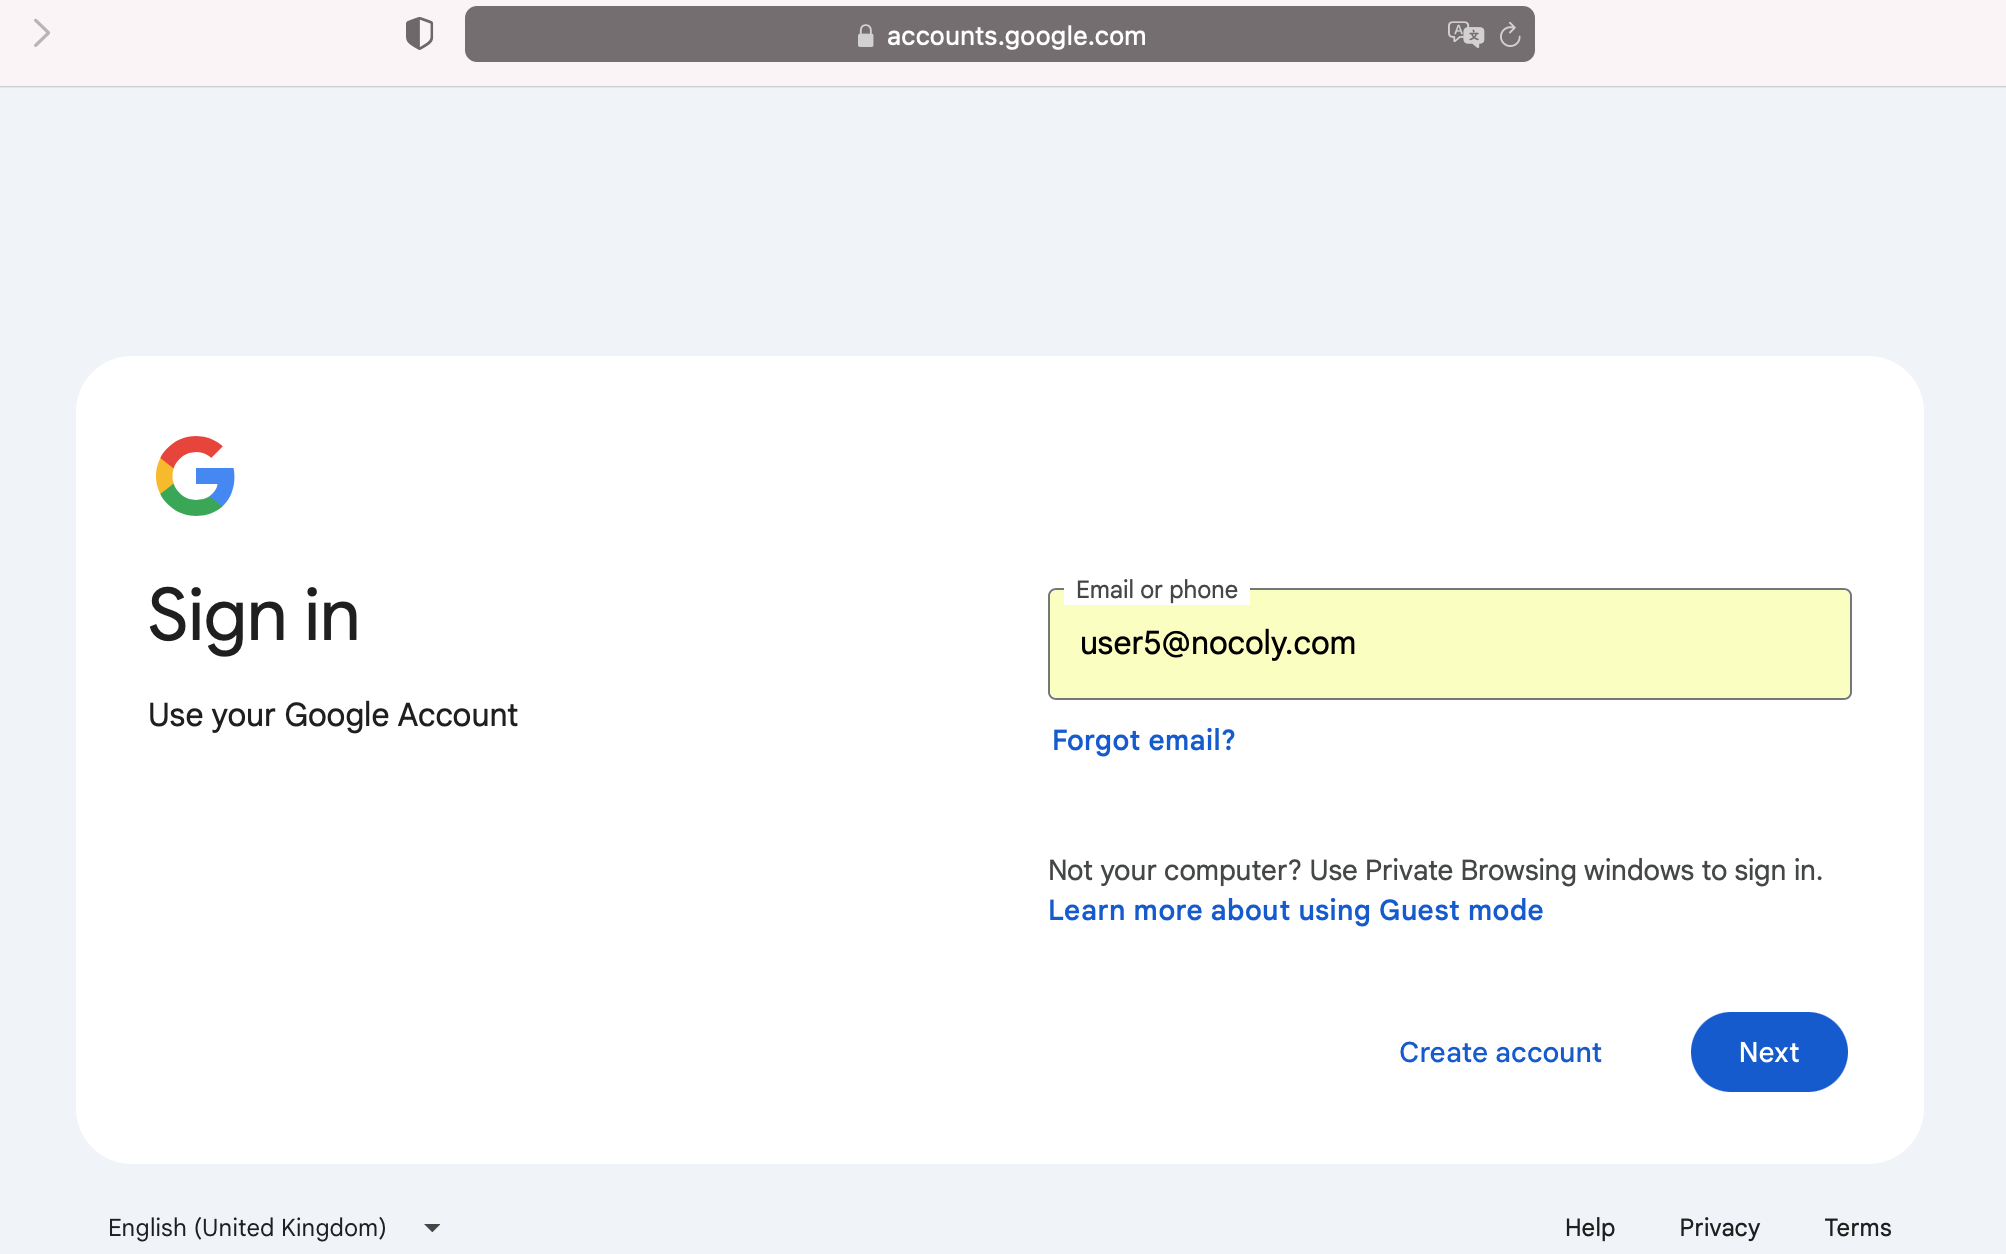
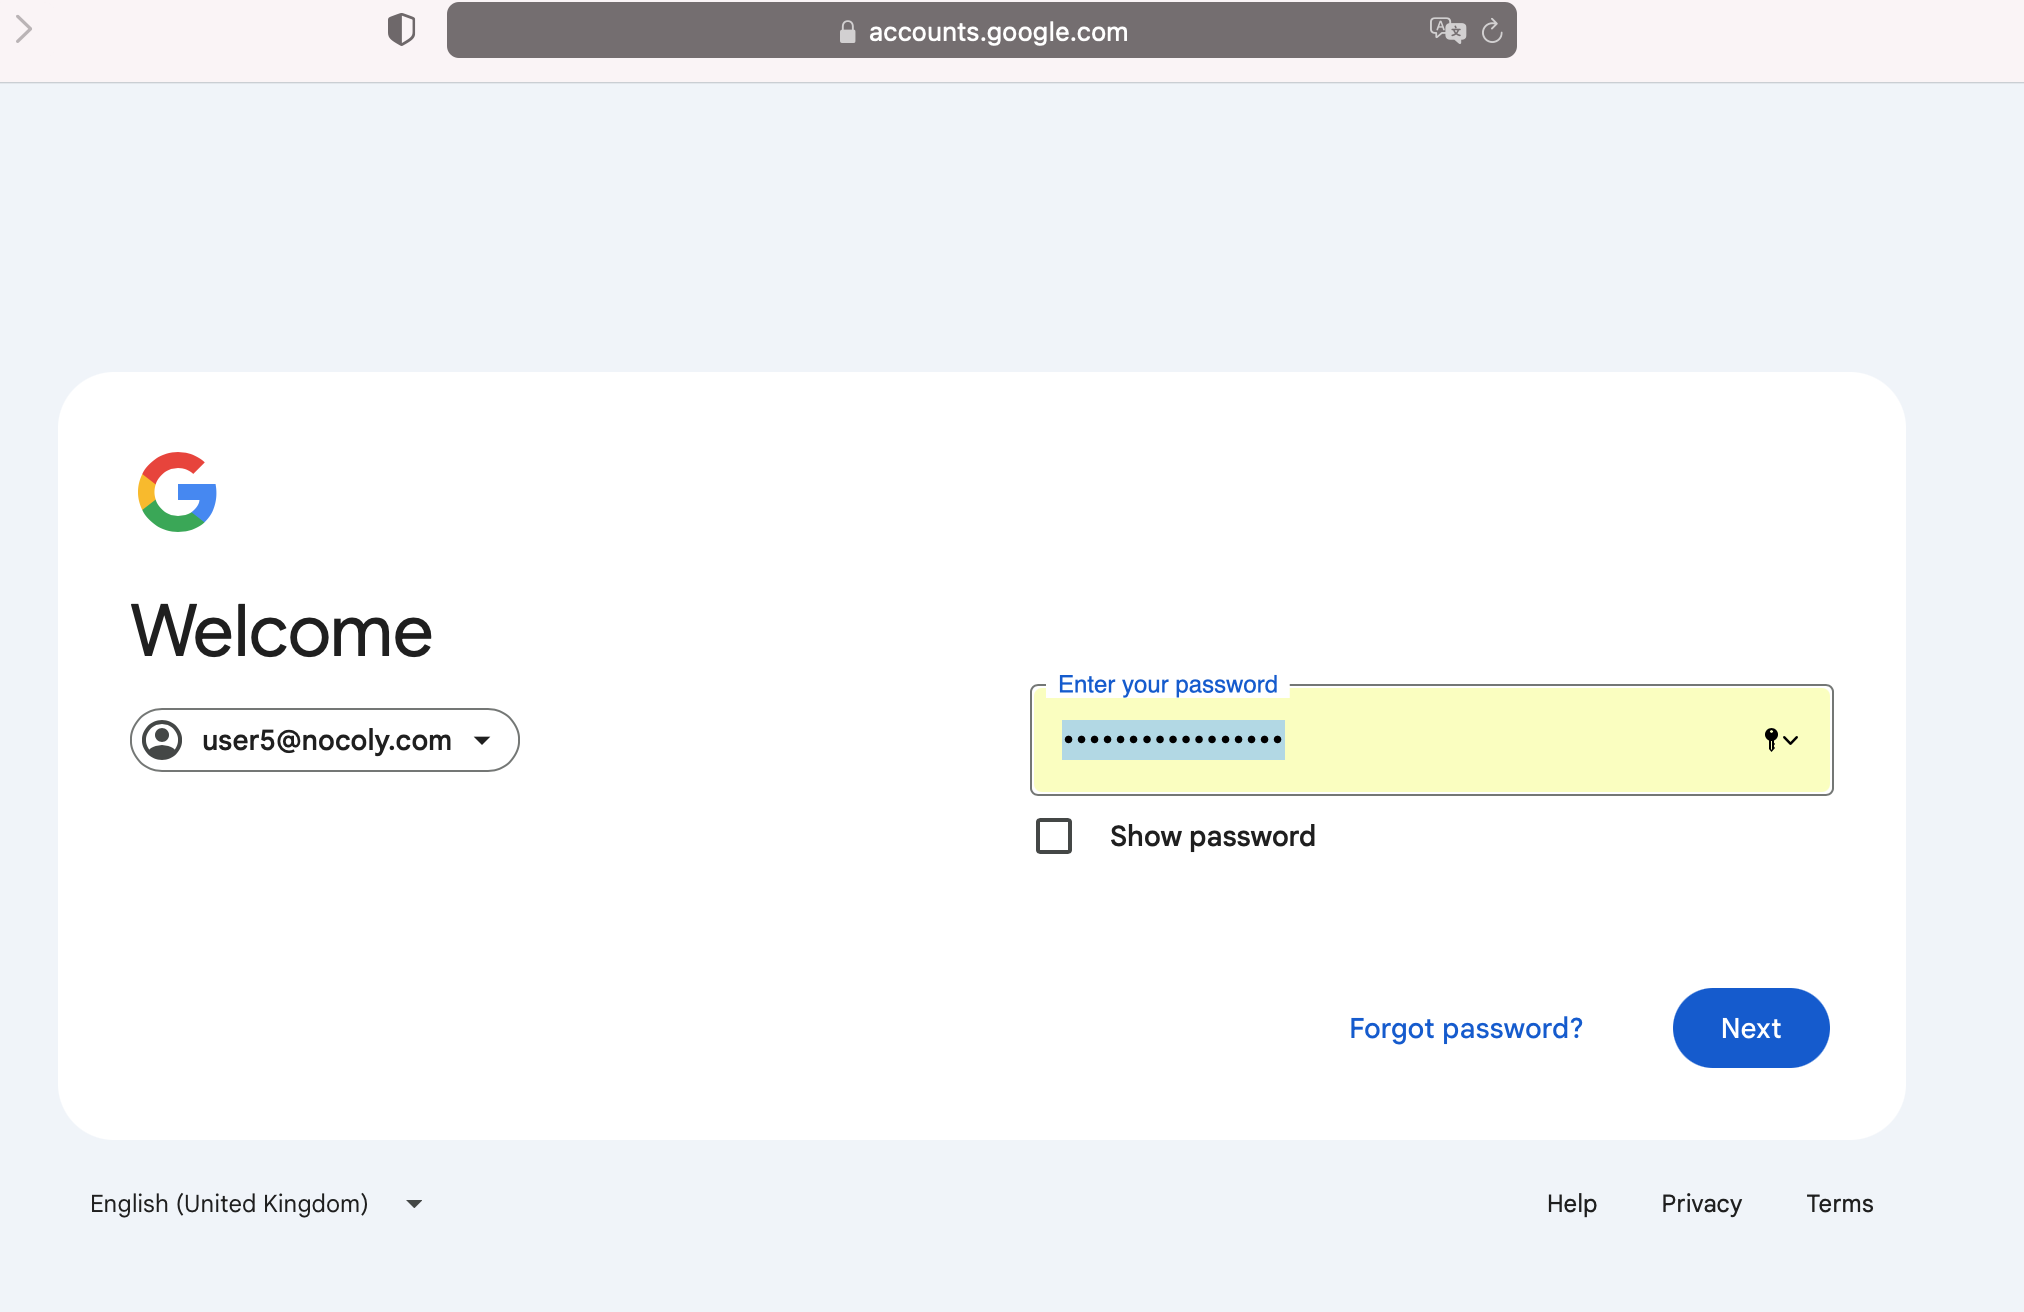
Log in to the organizational account.
-
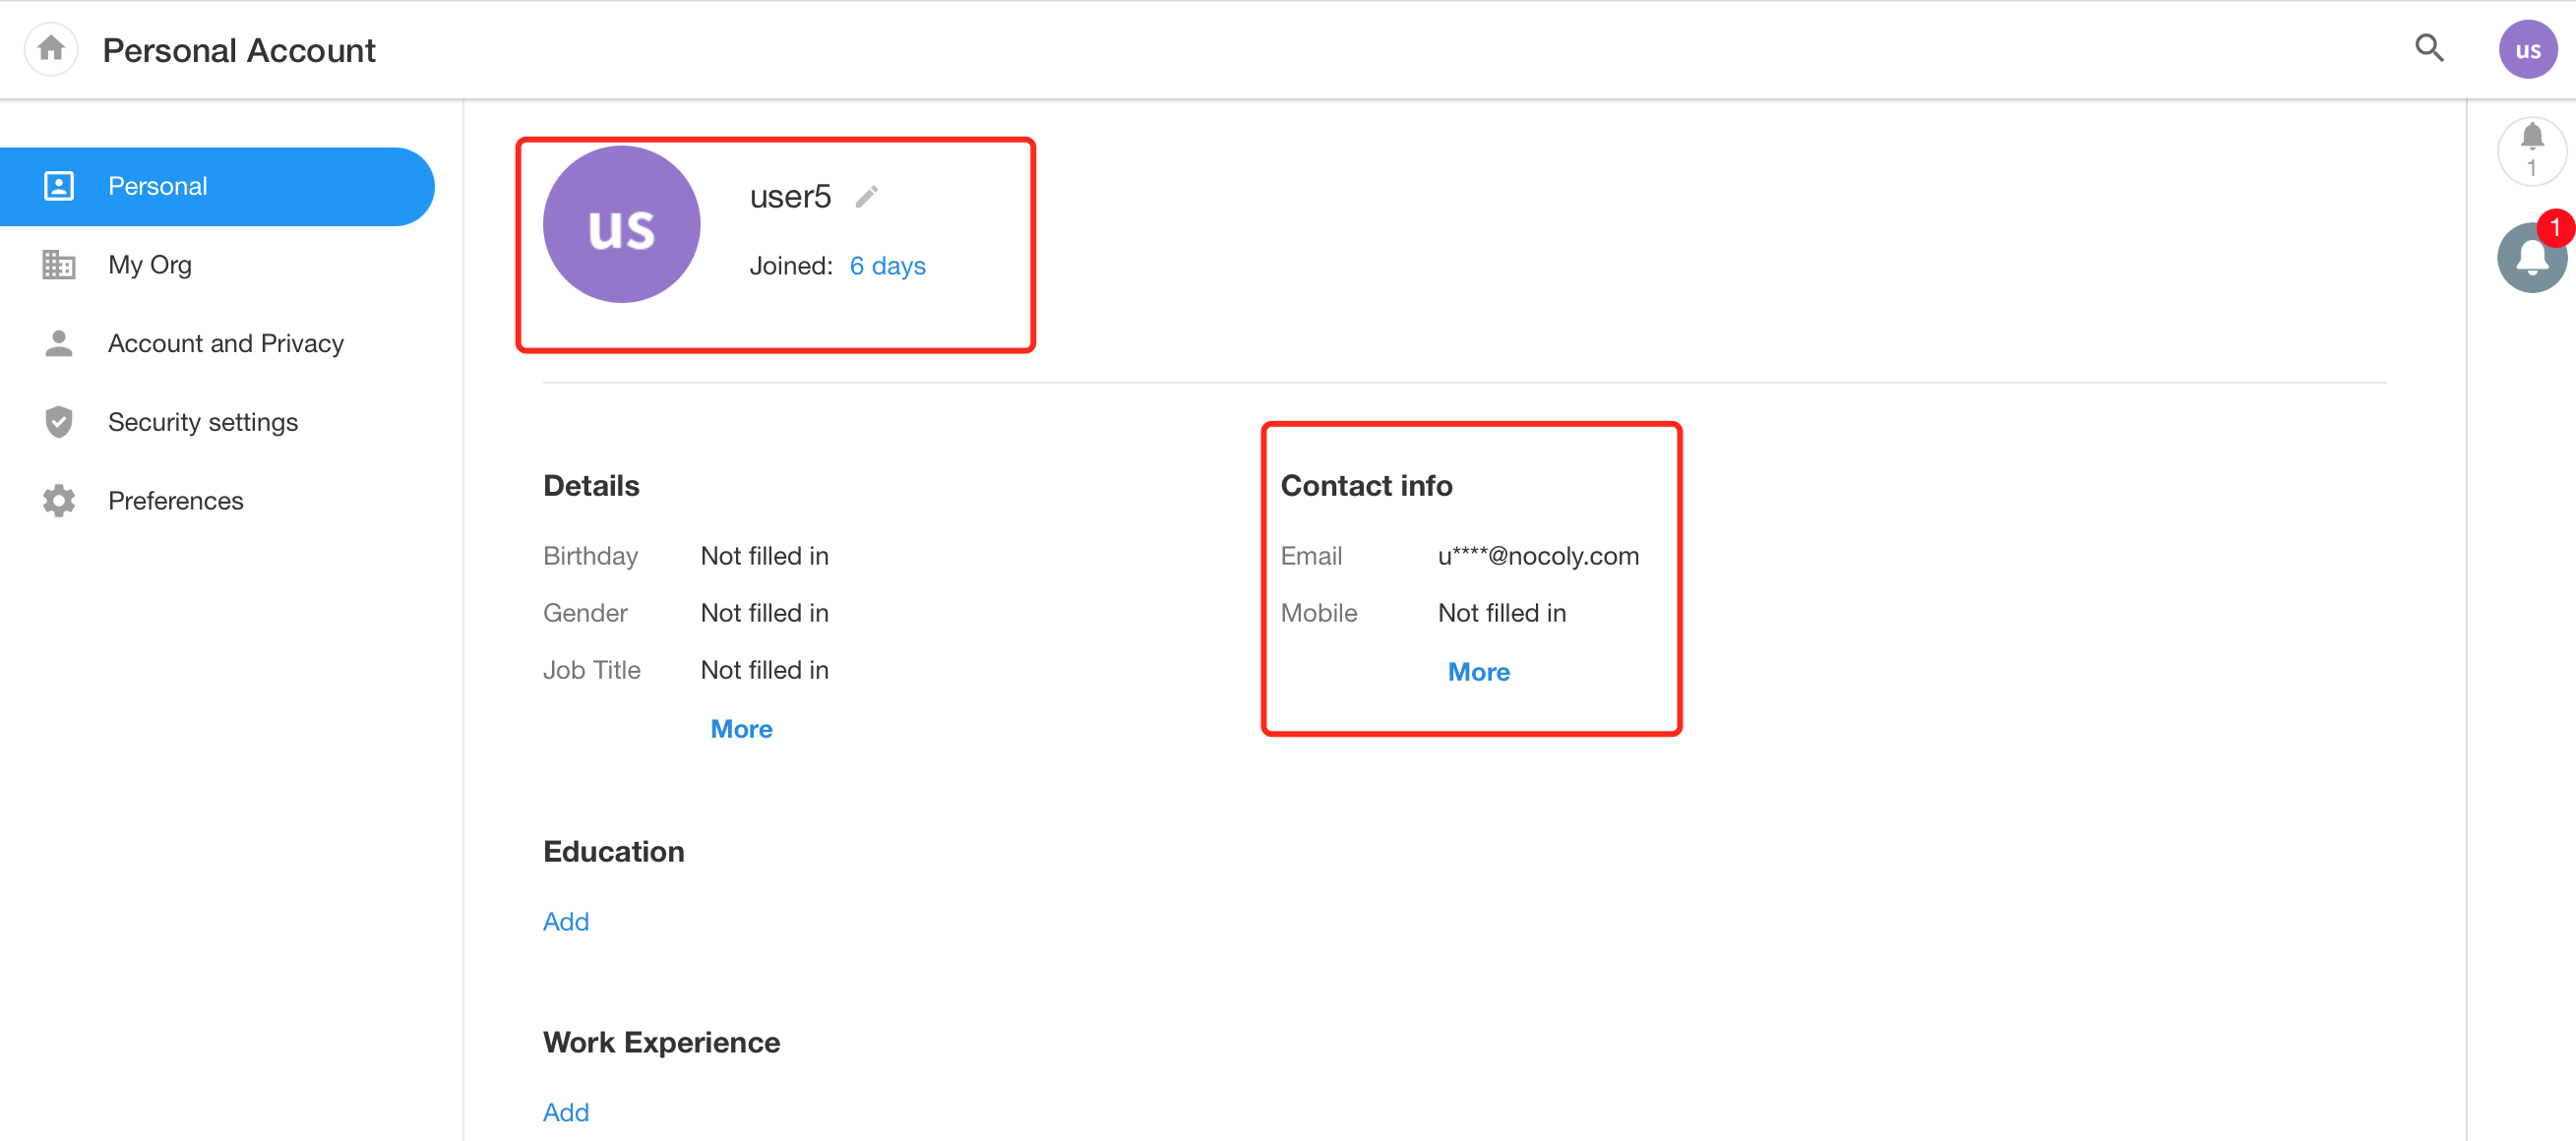
Successfully log in to HAP.
-
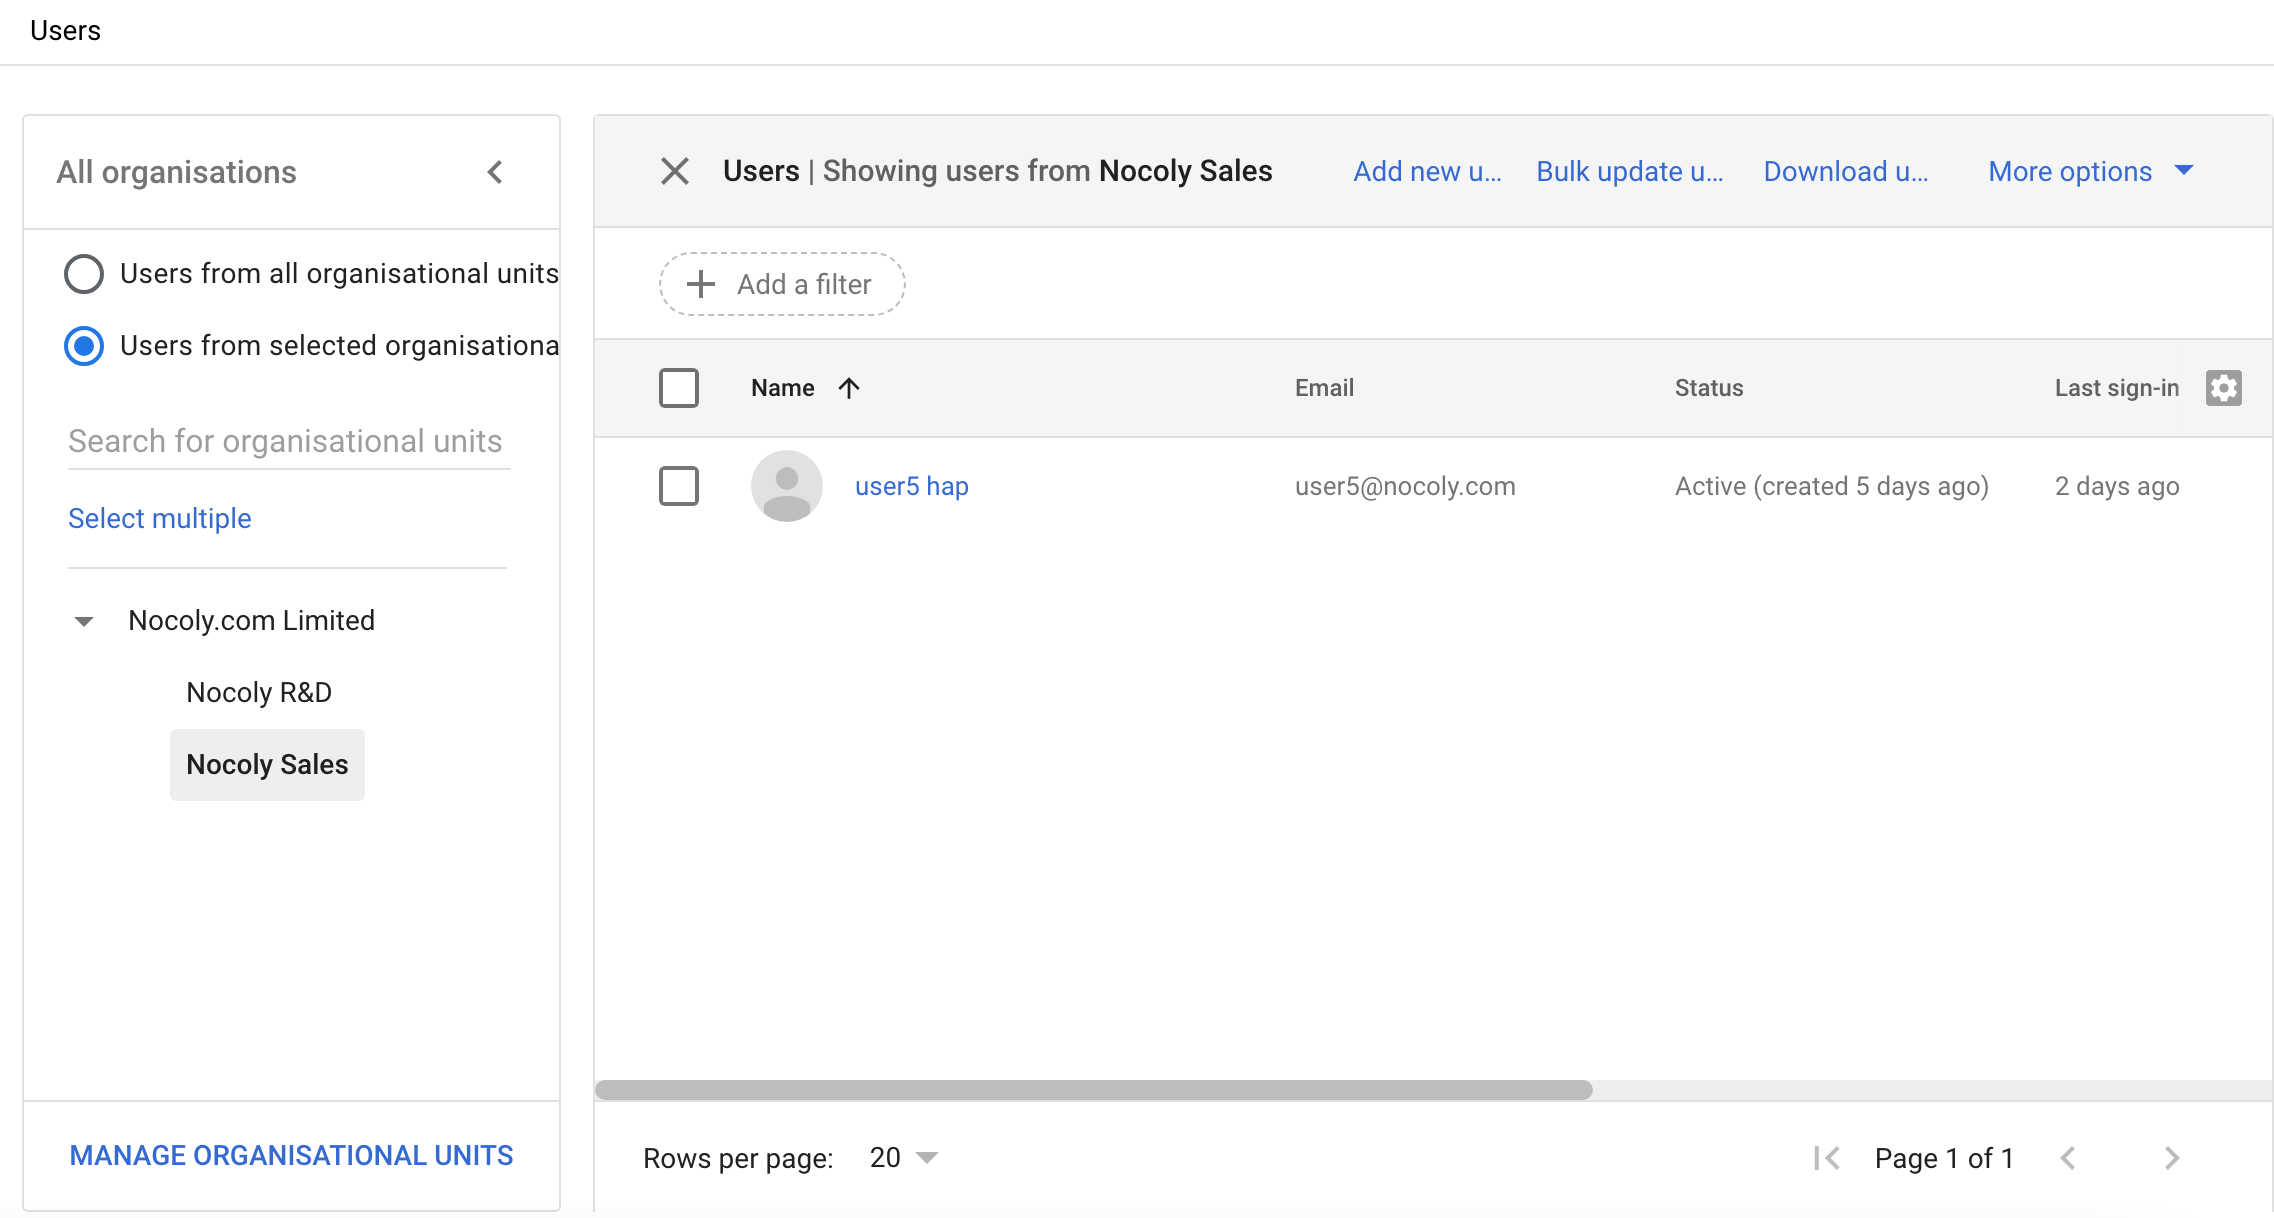
Change user organisational unit, prompt 403.
